In this SAP ABAP tutorial, you will learn step by step process to create a data element in SAP with proper screenshots.
What is Data Element in SAP?
Data elements also know as Type in ABAP programs are the object that describes the individual fields in the ABAP Data Dictionary Tables. It defines the type of the field, structure, or table row. The data element contains description, data type, and length.
Types of Data Element
There are two types of Data Element:
1) Elementary Type: A data type that contains semantic attributes, such as data type, length, etc.
Elementary data types can be assigned in the following ways:
- By assigning a predefined ABAP Dictionary type
- By assigning a domain
2) Reference Type: Data elements that describe the single field that has references for global classes and interfaces with the multiple numbers of data elements.
How to Create Data Element in ABAP?
Please follow the steps below to create a new ABAP data element in SAP:
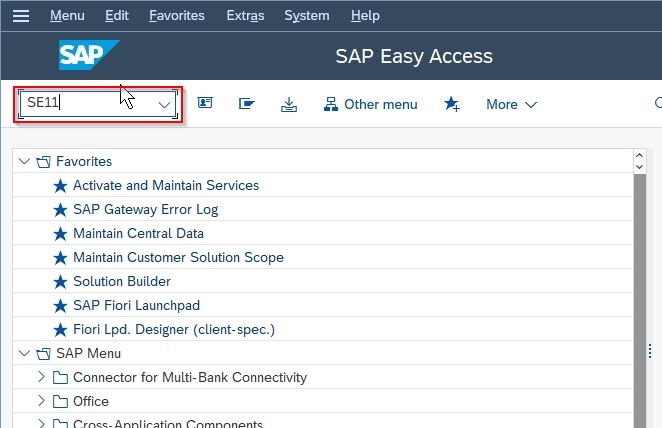
Execute t-code SE11 in the SAP command field.
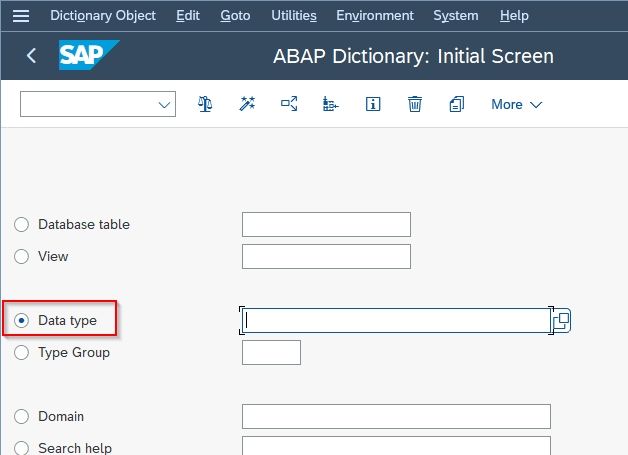
Next on the data dictionary initial screen click the radio button next to Data Type as shown below
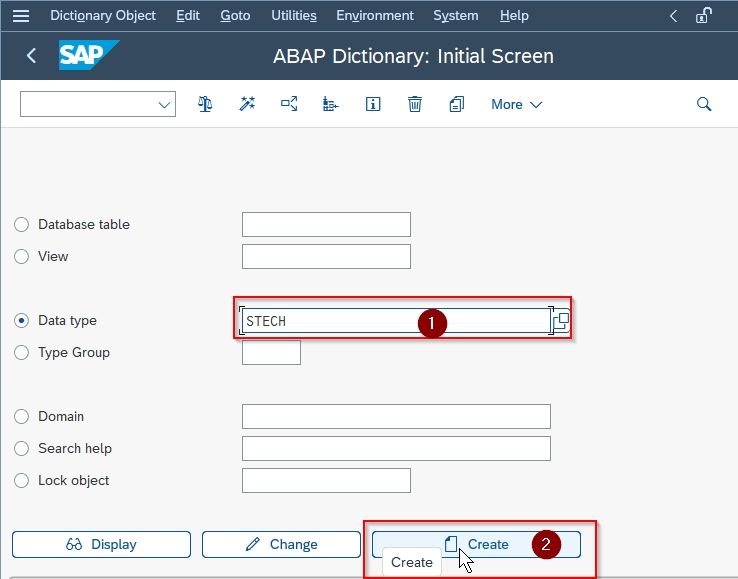
Now input the name for Data type (make sure the name starts with the letter Z) and click the Create button.
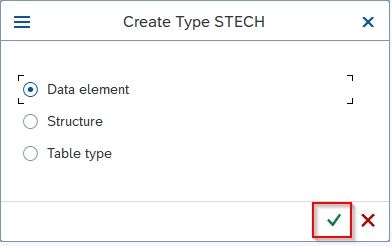
In the pop window, select the Data element option and click the Continue button to proceed.
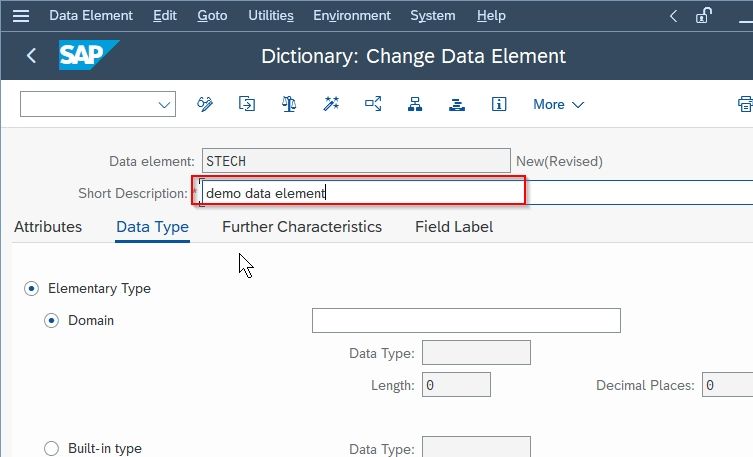
On the next screen enter a Short description of the data element.
Next, you can see, under the Data type tab there are two options given:
- Elementary Type
- Reference Type
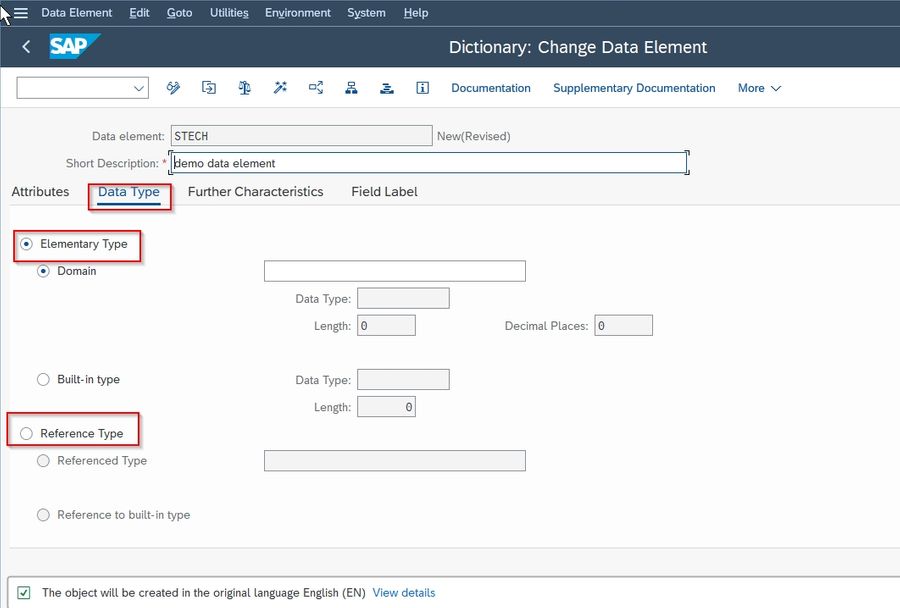
In this tutorial we choose the Elementary Type option as an example, you may also select the Reference Type option according to your requirements.

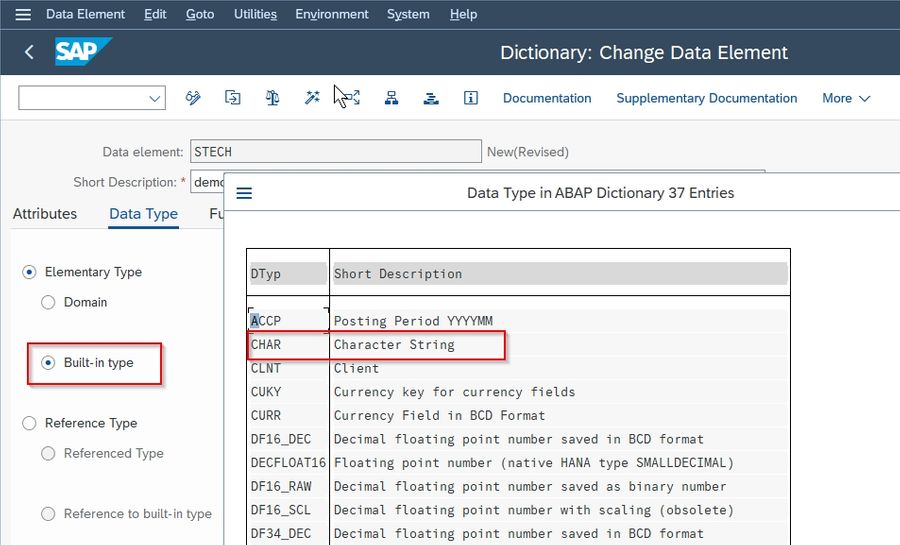
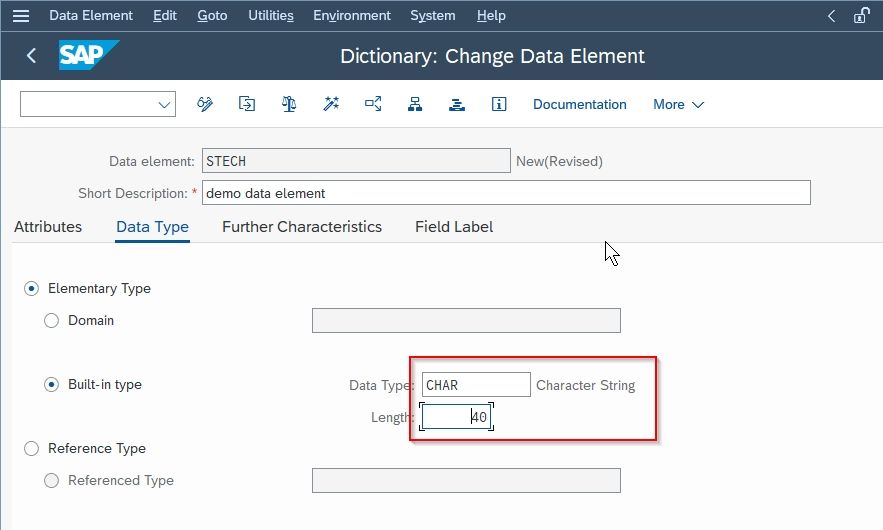
Next, click the Built-in type option to select the data types that are already defined in the SAP system by default. Here, we will enter the CHAR in the data type field
Next, enter Length and Decimal Places in their respective fields as shown in the image below:
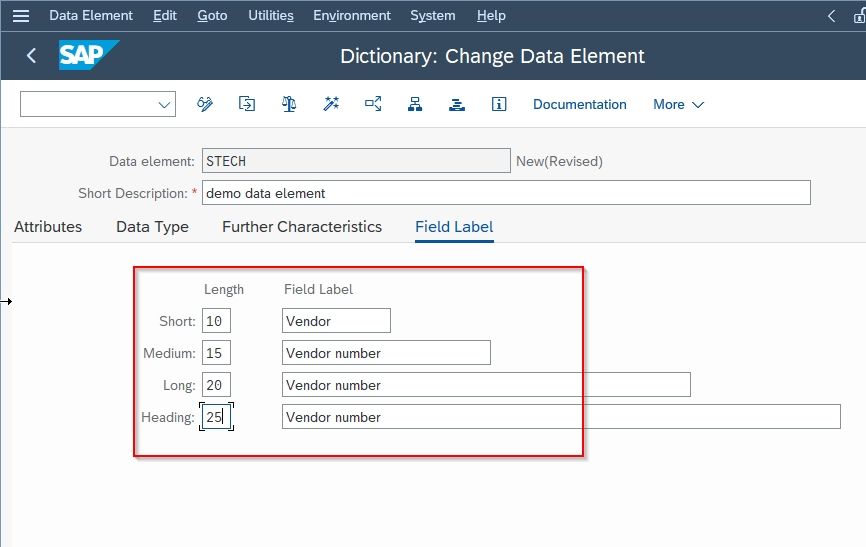
Now go to the Field Label tab.
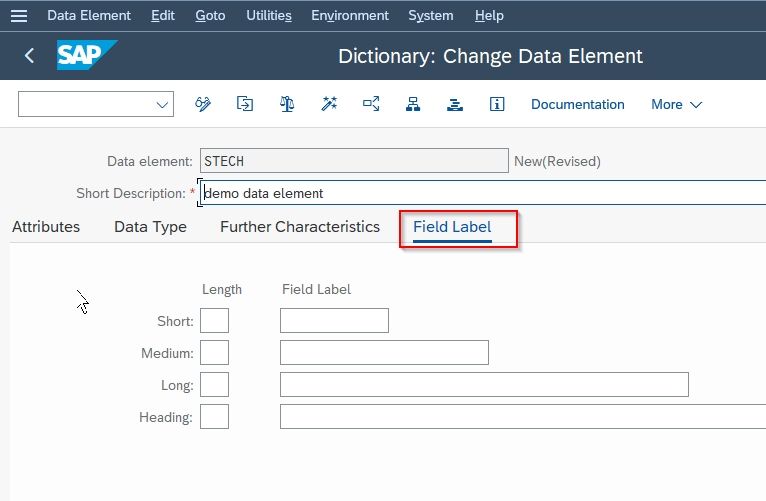
In this tab enter the Field Labels, and corresponding lengths will automatically be filled.
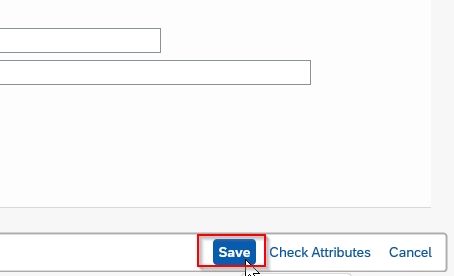
Next, click the Save button to save our new data element configuration.
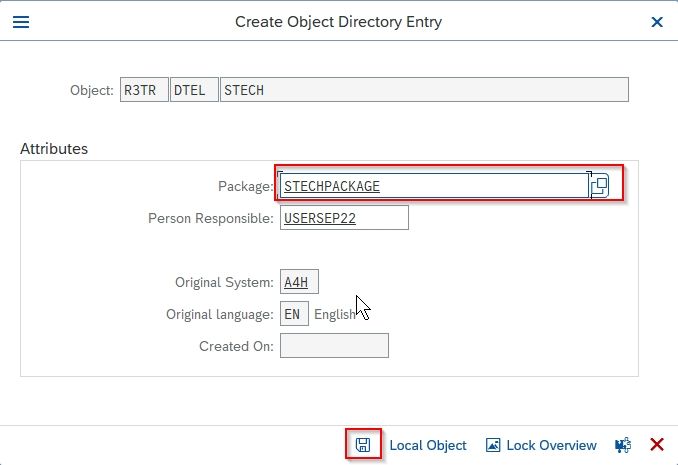
Now a new pop window will, here enter your Package name and click the save icon. You can also save it as a Local object
Next, select your Workbench Request id and press Enter to proceed.
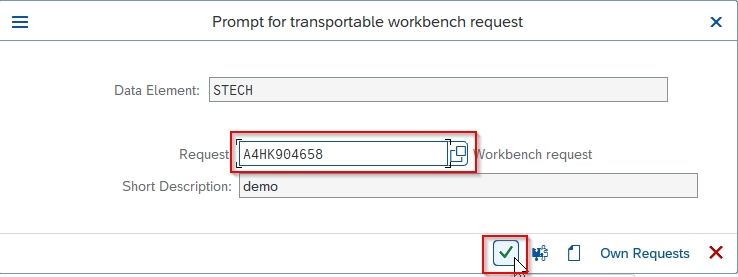
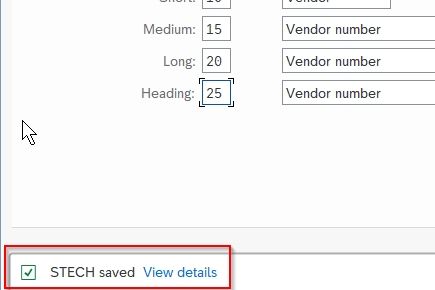
You will get a confirmation message on your screen as shown below:
Now once a new data element is created we have to activate it therefore click the Activate button to activate the new data element.
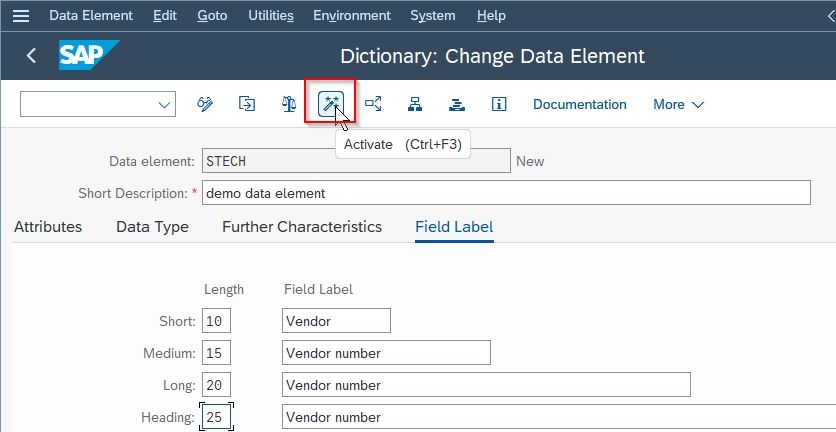
You have successfully created and activated a new data element.