How to Create a SAP Custom launchpad from Scratch?
Here you can learn the steps to create a custom launchpad and assign the custom launchpad to FPM.
Please follow the below steps:
Create a custom launchpad:
- Go to transaction LPD_CUST in SAP command field
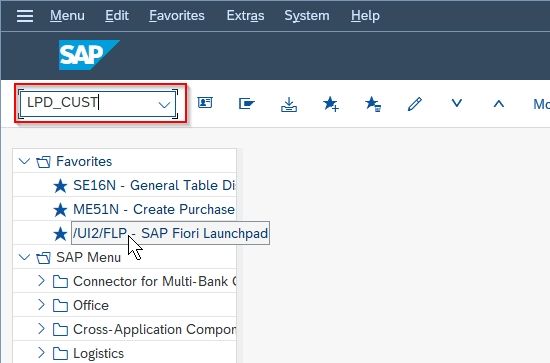
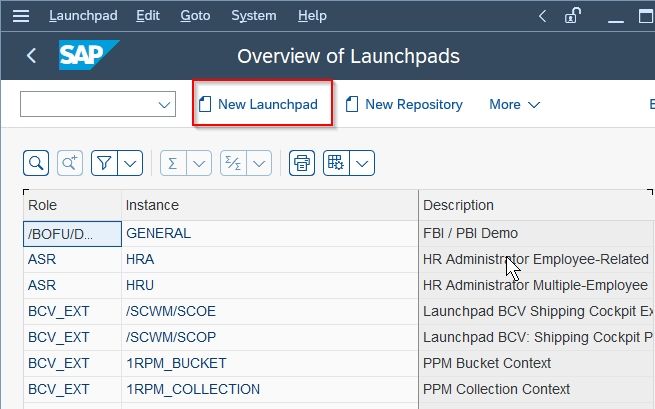
Next, click the ‘New Launchpad’ button
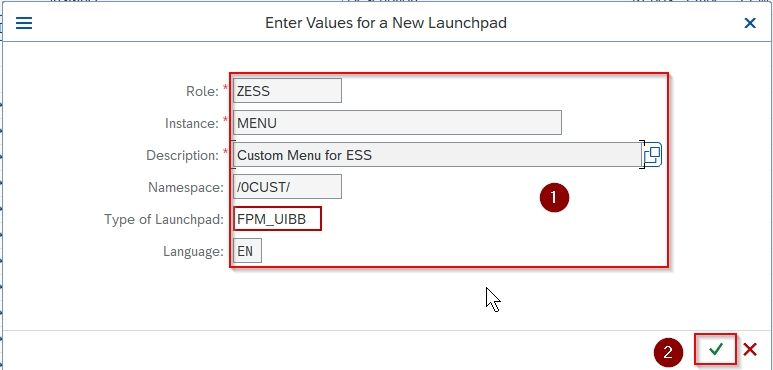
- Enter following details on the next screen :
- Role:ZESS
- Instance:MENU
- Description:Custom Menu for ESS
- Namespace:/OCUST/
- LunchPad Type:FPM_UIBB
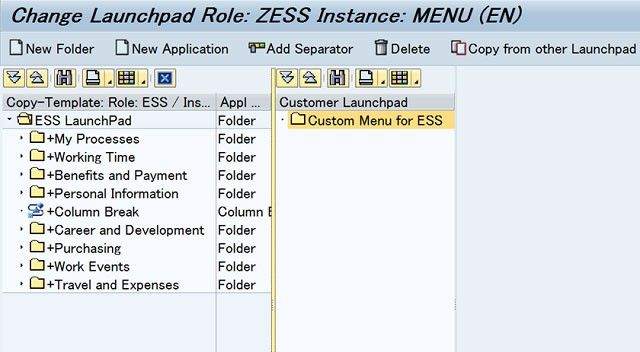
- On the next screen click ‘Copy from other Launchpad ’.

- Select ESS- Menu, then you should see the SAP Standard ESS launchpad on the left and the blank custom launchpad on the right.

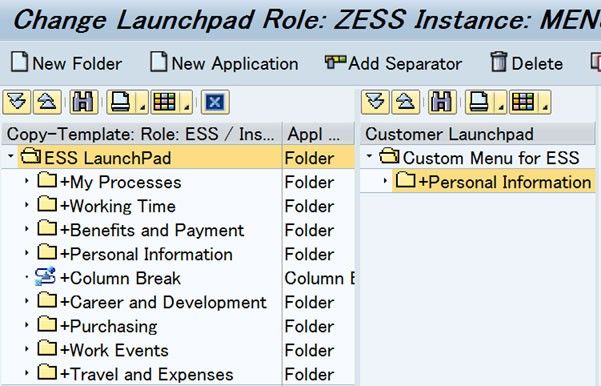
- Right Click on 'Custom Menu for ESS', then select ‘New Folder’ to create new nodes like ‘Personal Information' etc on the right hand side in ZESS Launchpad, then click on 'Save'.
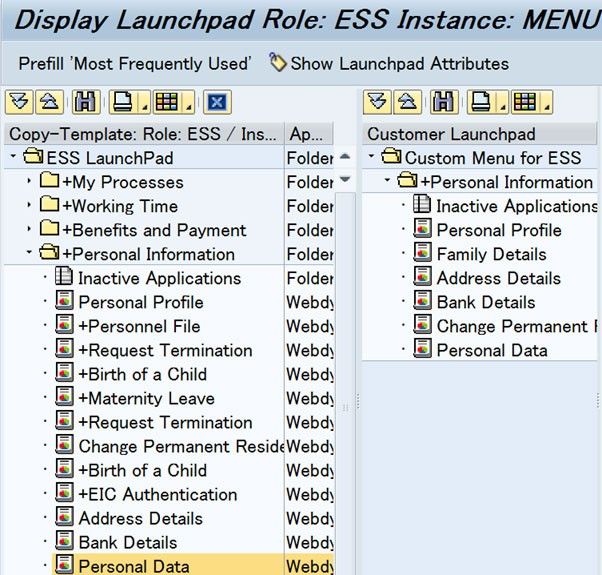
- Once the Folders are created, you can drag and drop applications from the SAP standard launchpad to the custom one. You can add various types of objects in the launchpad like WebDynpro ABAP or Java Application, a SAP transaction, a URL page, a Portal Object etc.
Assign the custom launchpad to FPM:
- Go to transaction SE80, in the Repository Browser & select ‘WebDynpro Comp. / Intf. ‘. Enter the component name ‘FPM_LAUNCHPAD_UIBB’ and press enter.

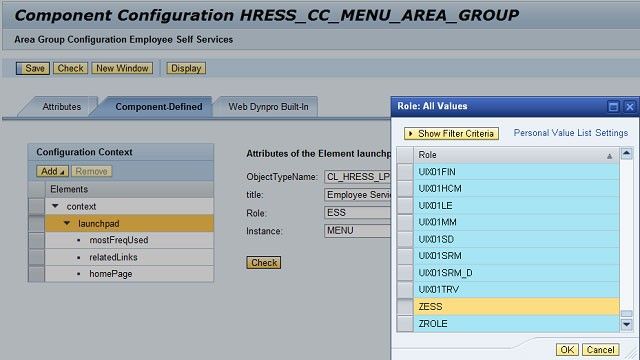
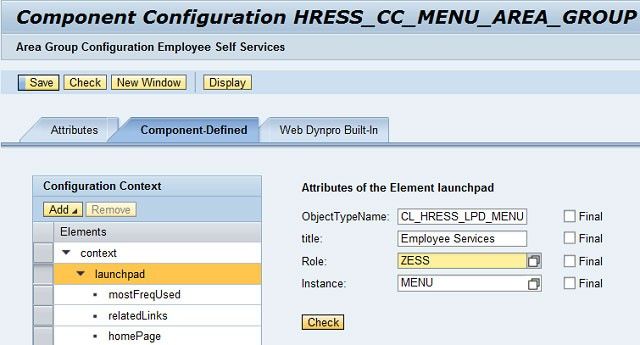
- Select the HRESS_CC_MENU_AREA_GROUP’ Component Configuration and click on ‘Start Configurator’.
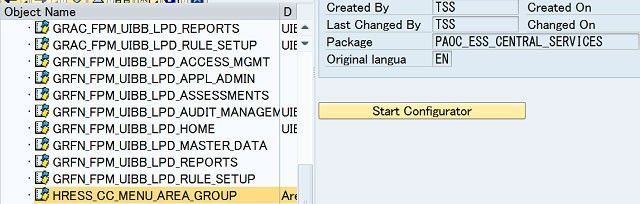
- Once the Component Configuration is opened in a browser window, Change the ‘Role’ property of ‘launchpad’ to ZESS (custom launchpad) and Save. The default value should be 'ESS'.