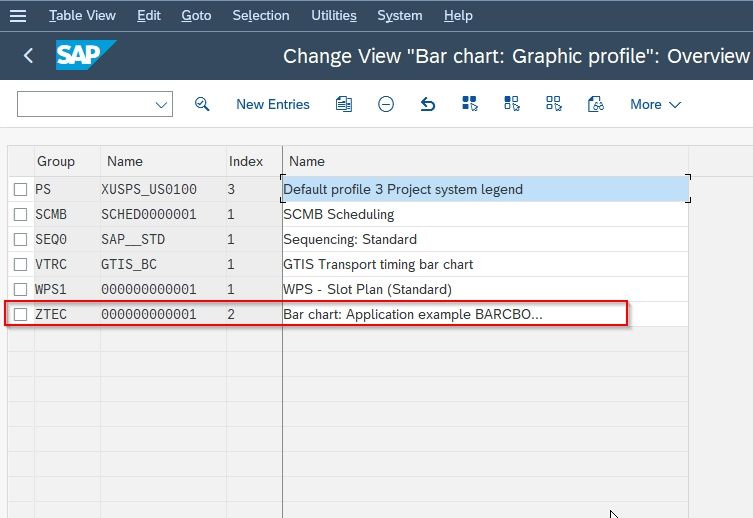
In this SAP WebUI tutorial, the Stechies users will learn the step-by-step procedure to define a new graphic element in your SAP system will proper screenshot.
What is Graphic Element in SAP?
The graphic elements are SAP elements that include the individual curves, the axes, and the background. An SAP user can change the settings of the individual graphic elements by double-clicking them.
Repeat a Group of Graphics Elements
A user can repeat a group of graphics elements in a view depending on code conditions.
A user can achieve the same graphic element using dynamic Web Dynpro ABAP programming. Depending on the number of times you have to create the UI elements, simply generate a unique ID for each UI element and create them using the standard Web Dynpro ABAP framework classes. Users just need to create the same in the method WDDOMODIFYVIEW() of the view.
How to Define Graphic Element in SAP?
Please follow the steps below to define a new graphic element in SAP:
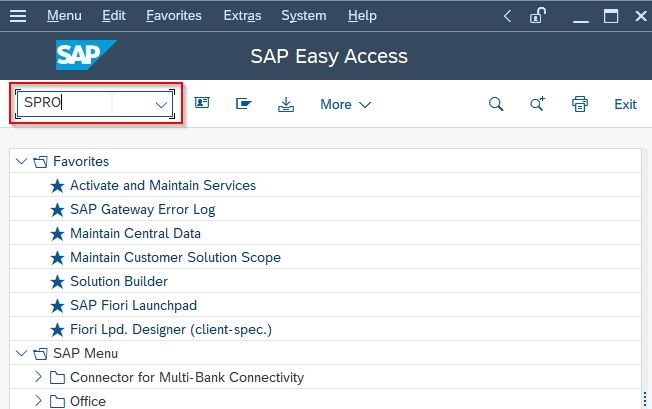
In the SAP command field enter t-code SPRO and Execute it.
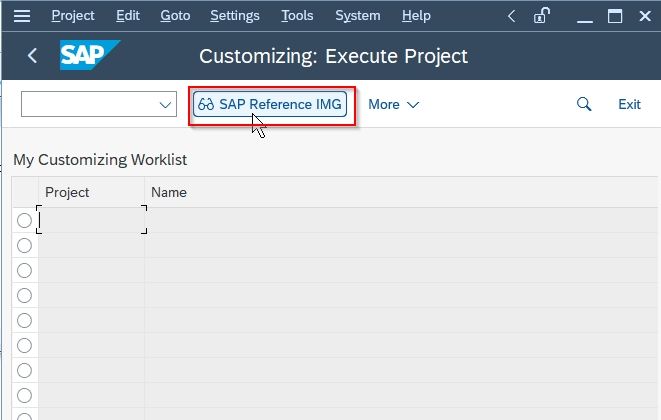
Next, click the SAP Reference IMG button to proceed further on the next screen
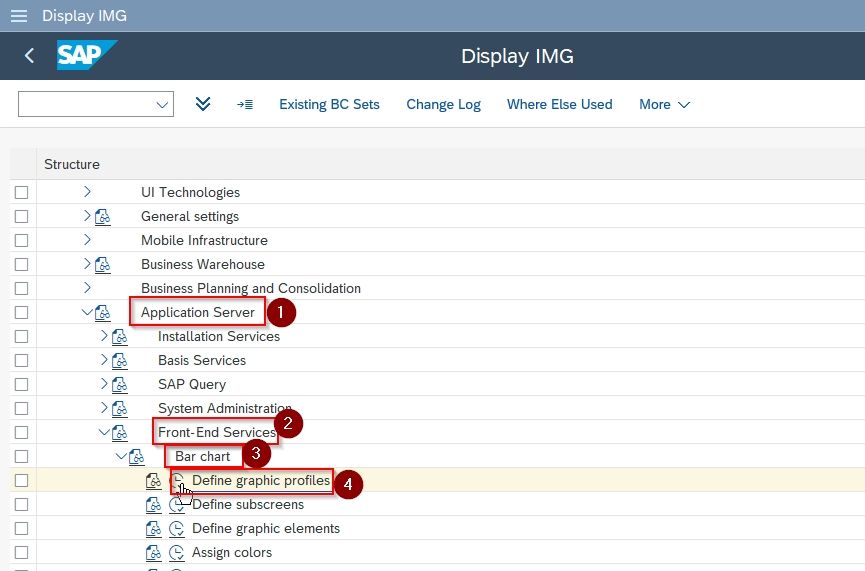
Now on the display IMG screen, navigate to the following SAP IMG path:
Application Server > Front End Services > Bar Chart > Define Graphic Elements
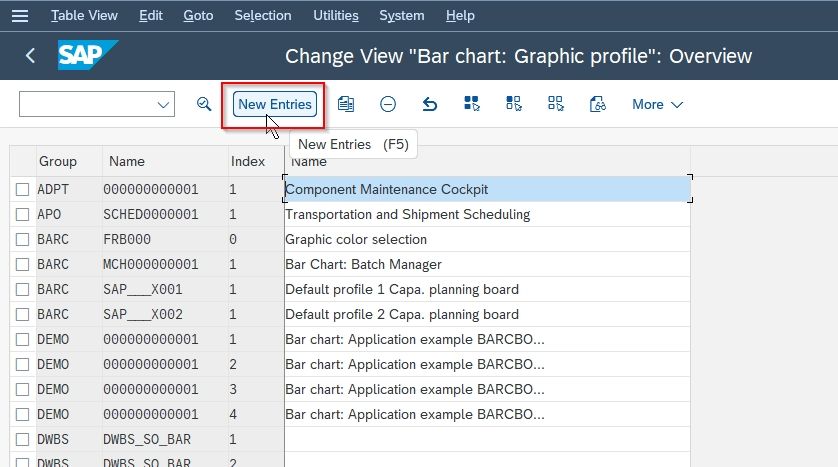
Next on Change View “Graphic Element": Overview screen, you will see the list of all previously defined Graphic elements in your SAP system.
Now click on the New Entries button to define a new graphic element.
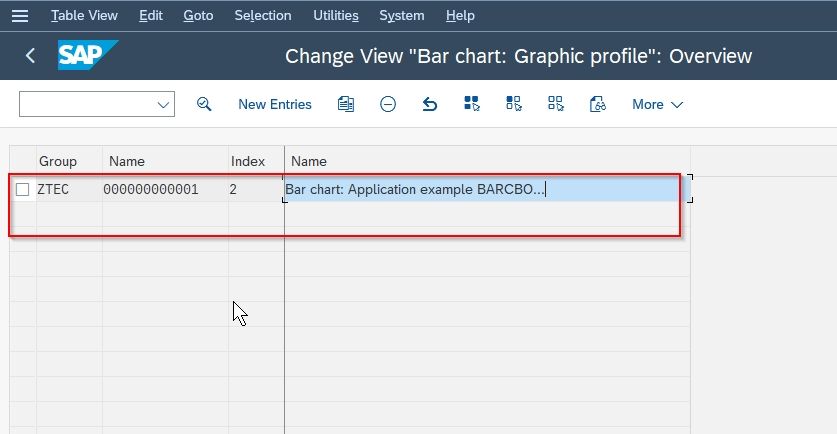
Next enter the following details for the new graphic element as shown in the image below:
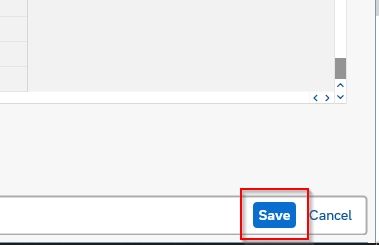
Once all the data has been entered click the SAVE button to save the configuration for the new graphic elements.
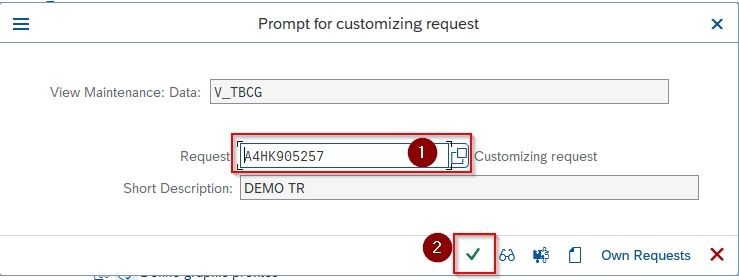
Next, select your Customization Request id and press the Enter button to proceed.
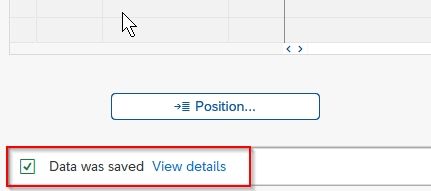
Next, a message Data was saved will be displayed at the bottom of your screen.
You have successfully created new Graphic Elements in your SAP system.
