How to create project on Eclipse IDE
This tutorial is about downloading and installing an IDE (Integrated Development Environment) Eclipse in our system and how to create a project on eclipse IDE.
Eclipse is one of world's, most used IDE for developing a program in various programming languages such as JAVA, C++.
Why is IDE Used
To run a java program, every time we have to write some commands in the command prompt and execute it, therefore to avoid this we use IDE which allows us to write the commands in editors and provide us Syntax Highlighting. Through IDE we can execute our program in one click
Downloading Eclipse IDE
Please follow the steps given below for downloading Eclipse IDE:
1) First go to, eclipse.org from where you can get eclipse IDE.
2) Now in eclipse website go to Downloads

3) In download page click Eclipse Standard after selecting your type of Operating System in a dropdown at the right-hand side.
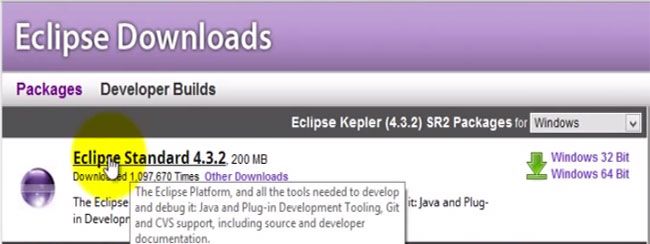
4) Clicking on Eclipse Standard will take you on mirror by clicking which Eclipse IDE will get start downloading in your system
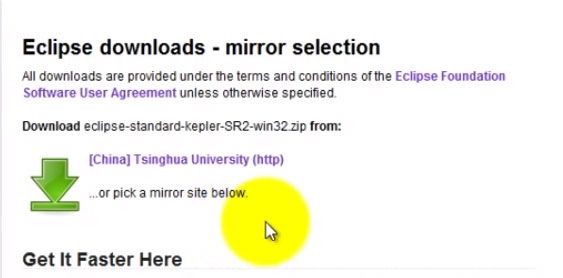
5) Once the download gets finish you will see a zip file in the location where you saved your download

6) Extract the zip file
7) Open the extracted folder and double click the eclipse application in order to launch the eclipse IDE.
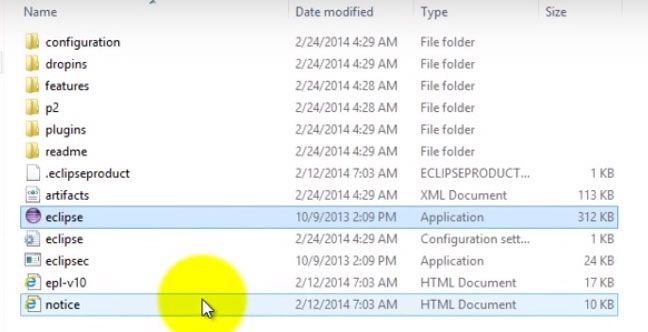
Note: Your system must have JDK (Java Development Kit) Installed in order to launch Eclipse IDE.
8) At last give a location where you want to store the project you make in eclipse.
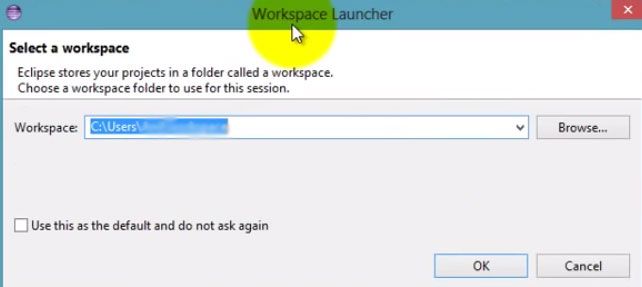
9) An eclipse IDE will be installed in your system
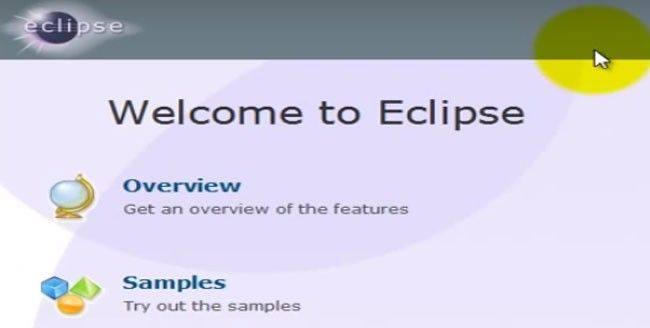
Creating a JAVA project in Eclipse IDE
For creating a java project in Eclipse IDE please do the following:
- Go to File -> New -> JAVA project
- Give a name to your project and click Next -> Finish
- Now click on the project you created and go to source folder
- In the source folder go to New -> class in order to create a new class
- Now give a name to your class and select public static main (String[] args) and click finish
- Now in the class write your code and run the code