This SAP QA (Quality Management) tutorial will explain to the Stechies readers the step-by-step to create Inspection Types in their SAP System with proper screenshots.
What is Inspection Type in SAP?
The SAP system uses various inspection types also known as inspection lot origin to determine how the inspection lot will be processed. The processing of the Inspection type depends on whether the inspection lot is created automatically or manually.
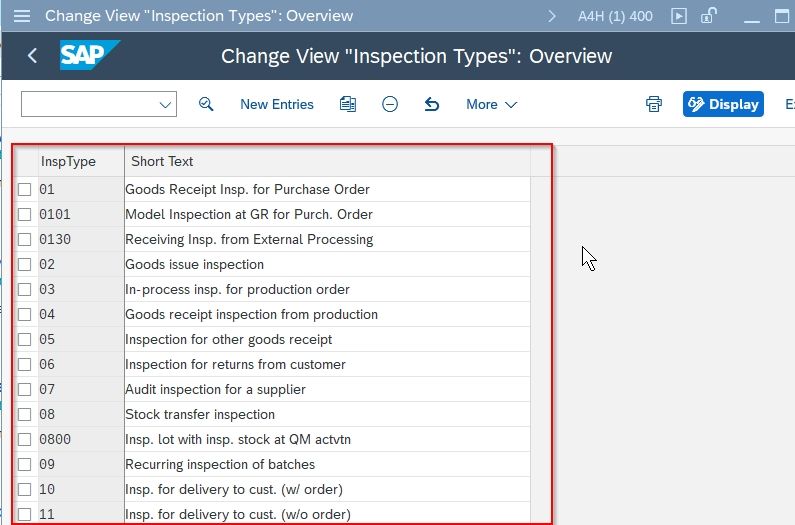
Here are some common Inspection types and their description:
- 01 - Goods receipt inspection type for a purchase order
- 02 - Goods issue inspection
- 03 - In-process inspection for a production order
- 04 - Goods receipt inspection from production
- 05 - Inspection for other goods receipt
- 06 - Inspection for a customer return
- 07 - Inspection for Audit
- 08 - Inspection for a stock transfer
- 0800 - Inspection lot for QM activation
- 09 - Recurring inspection of batches
- 10 - Inspection for delivery to a customer with a sales order
- 11 - Inspection for delivery to a customer without a sales order
- 12 - Inspection for a general delivery
- 13 - In-process inspection for repetitive manufacturing
- 14 - Inspection in Plant Maintenance
- 15 - Inspection for physical samples
- 17 - Inspection from an external system
- 89 - Miscellaneous inspection
How to Create Inspection Type in SAP?
Please follow the steps below to create a new inspection type in the SAP System:
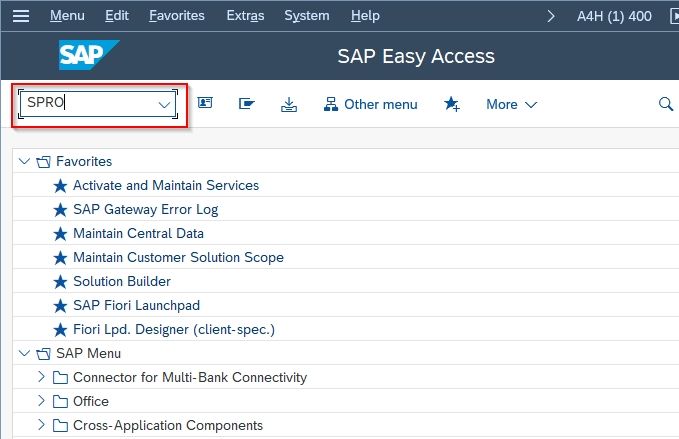
Step 1: Execute t-code SPRO in the SAP command field.
Step 2: On the next screen click the SAP Reference IMG button

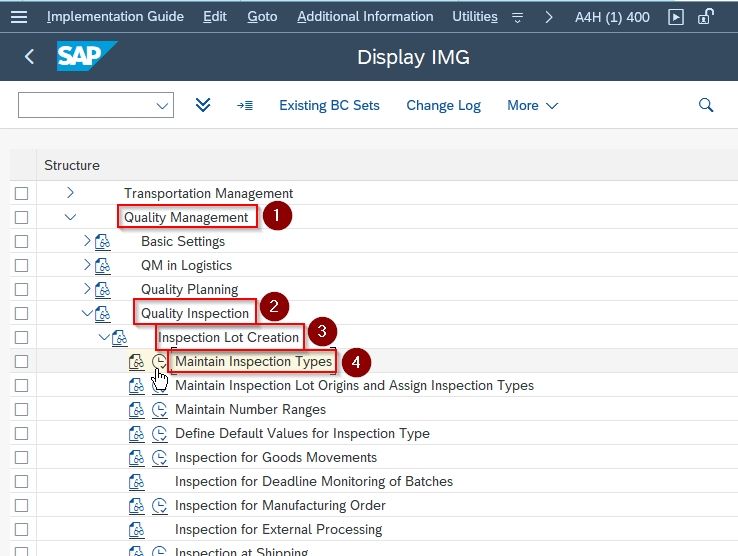
Step 3:Next follow the following SAP IMG path
SPRO > SAP Reference IMG > Quality Management > Quality Inspection > Inspection Lot Creation > Maintain Inspection Types
Now on the next screen, you will see the list of all previously created Inspection type on your SAP system.
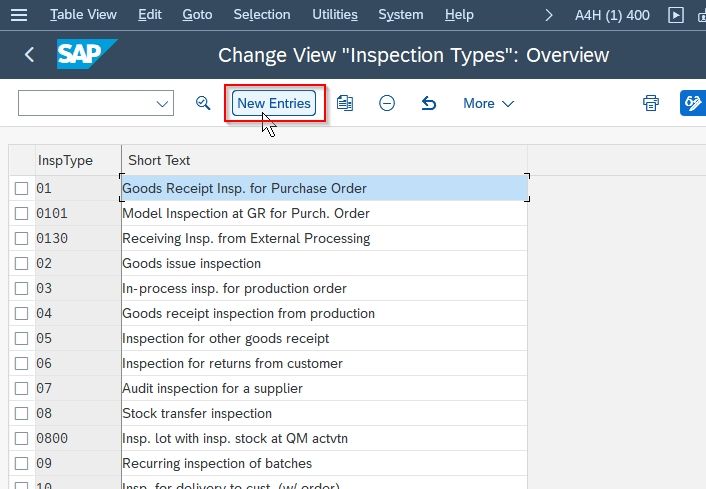
Step 4: Next click the New Entries button to create a new Inspection Type.
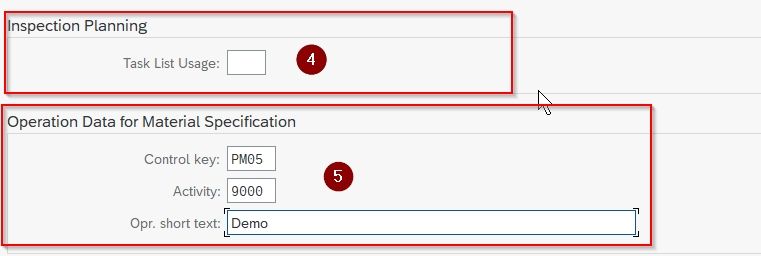
Step 5: Now provide the following details for the new Inspection Type as shown below in the image
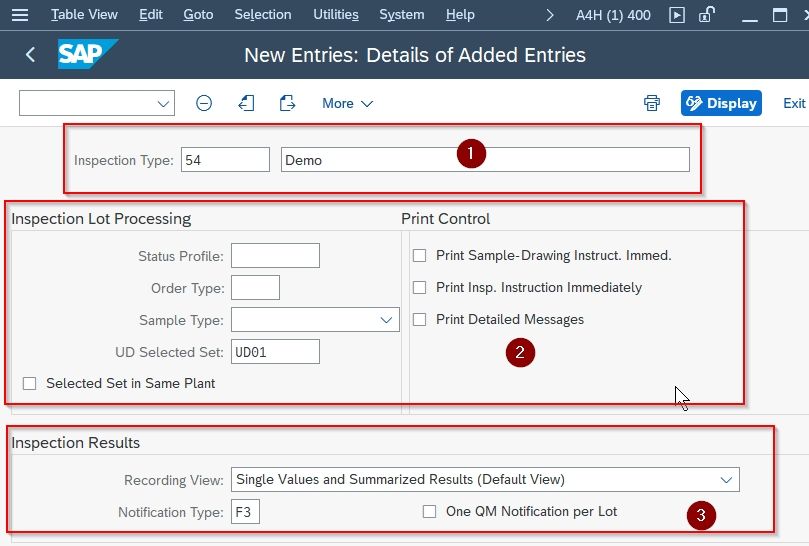
Step 6:Once you entered all the required details, click on the SAVE icon to save all the data.

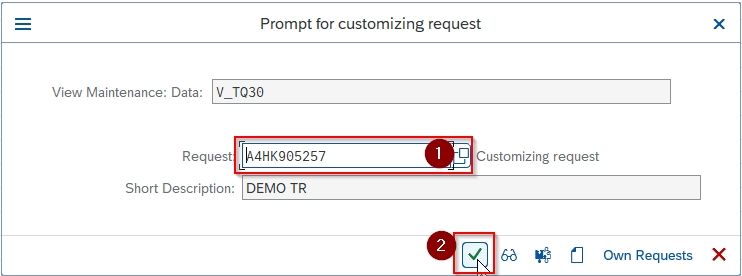
Step 7:Next select your Customization Request id and press enter to proceed
A message Data was saved will appear on the bottom of your screen which means that your new inspection type is saved in your SAP system.
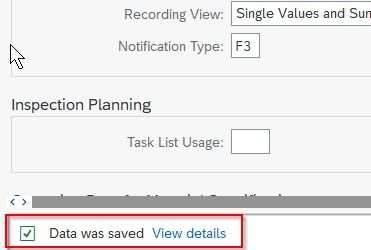
A new Inspection Type 54 is successfully created.
