This article describes the installation process and setup of the Python Django framework. The following prerequisites are required for installing Django.
Install Python 3, pip 3, Django, and virtualenv, which are necessary to develop web applications with Django.
Step 1: Installing Python and pip:
You must update your local APT repository before installing Python on your system. Open the terminal and give the following command as input.
If you are a Linux or macOS user, you can use this command:
sudo apt-get update && sudo apt-get -y upgrade
Installing Python and pip (Python's package installer) is straightforward. Below are the steps to install Python and pip on different operating systems:
You can check our complete tutorial on how to install pip on Windows
First, start with Windows:
Step 1: Install Python:
- Open the official Python website
- Go to the "Downloads" tab
- Select the latest version of Python for Windows and click on the download link.
Step 2: Running the Installer:
- After the downloading gets completed, run the installer.
- Always check the box that says "Add Python to PATH" during the process
- Click "Install Now" to start the installation.
Step 3: Verifying installation:
Go to a command prompt and start typing "python --version." Proceed by pressing "Enter" to verify the installation of Python. Type pip --version and check the installation of pip.
You can check our complete tutorial on Installing Python on Windows
Secondly, for macOS:
Step 1: Install Homebrew (if not installed):
Open a terminal.
Install Homebrew by pasting the following command and following the on-screen instructions:
/bin/bash -c "$(curl -fsSL https://raw.githubusercontent.com/Homebrew/install/HEAD/install.sh)"
Step 2: Installing Python:
Once you install Homebrew, run the following command to install Python:
brew install python
Step 3: Verifying the Installation:
Go to the terminal and type "python3 --version" to verify the installation of Python.
Thirdly, for Linux:
Step 1: Updating Package List:
Go to the terminal.
Run the following commands to update the package list:
sudo apt update
sudo apt upgrade
Step 2: Installing Python:
Run the following command to install Python:
sudo apt install python3
Step 3: Verifying Installation:
To verify the installation of Python:
Go to the terminal and type "python3 --version".
Step 4: Installing pip using the following command:
sudo apt install python3-pip
After installing Python and Pip on your systems you can proceed with setting up the virtual environment.
Step 2. Setup Virtual Environment
This process will assist you in editing the dependency. By default, the system does not allow users. So, the following steps will set up a virtual environment:
Step 1: Creating a virtual environment in Django:
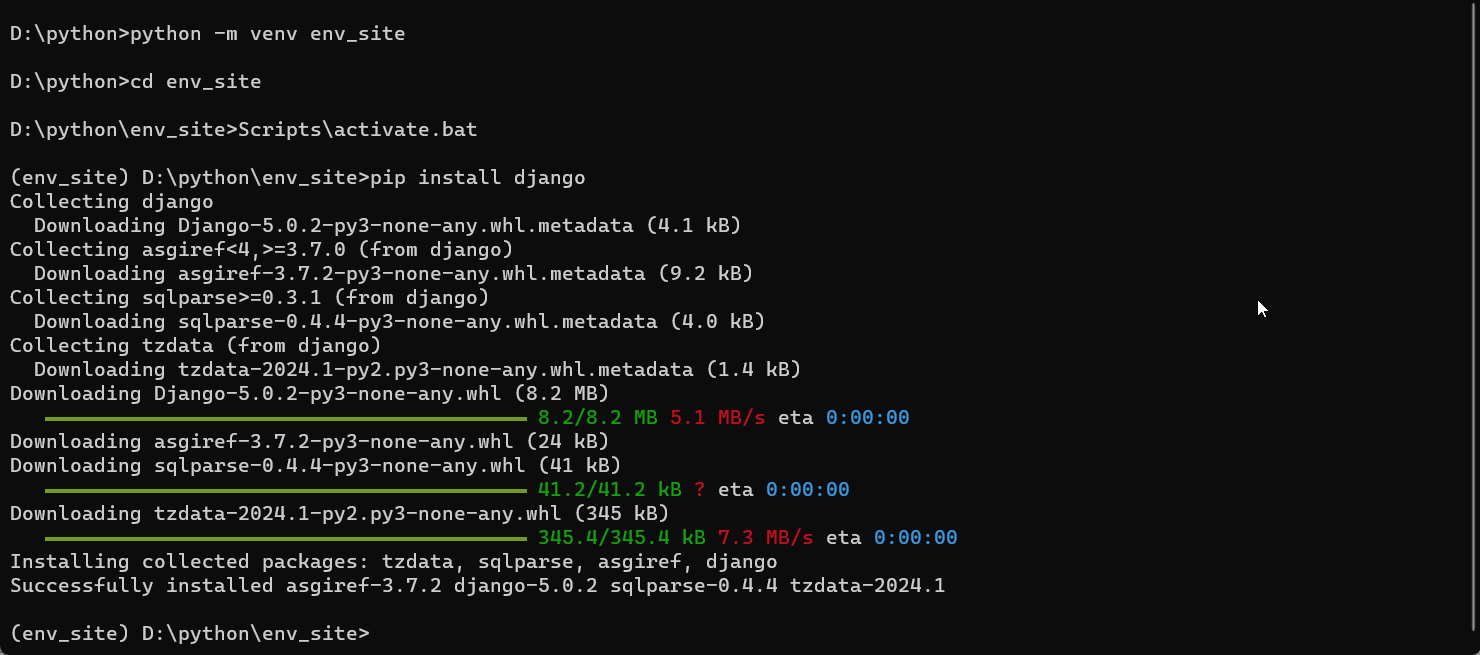
You can start by going to the directory where you want to create the virtual environment. Start typing the following command to create a virtual environment in Django:
python -m venv env_site
env_site: is the name of the virtual environment you can give any name
Then, you can activate the virtual environment in Django.
Step 3: Activating the virtual environment:
Start running the activation script present in the bin directory inside the virtual environment folder
In Windows:
env_site\Scripts\activate.bat
In macOS/Linux:
source env_site/bin/activate
Step 4 Install Django
Finally, developers can install the Django by the following steps:
Step 1: Open a Terminal or Command Prompt for Windows and macOS or Linux users.
Step 2: Installing Django using pip:
The following command will install the Python Django framework:
pip install django
If you are using Python 3, you can use pip3 instead of pip.
Step 3: Verifying the Installation:
Type the following command to verify the installation of Django in the system:
django-admin --version
Alternatively, you can also use:
python -m django --version
or
python3 -m django --version
![]()
Step 4: Creating a Django Project is optional:
After installing the Django framework, you can create a new Django project using the following command:
django-admin startproject projectname
You can replace the "projectname" with the desired name for the project.
Step 5: Navigating to the Project Directory:
Use the following command to change into the project directory:
cd projectname
Here, you will replace the "projectname" with the name of your Django project.
Step 6: Start Django server:
To start the Django server and verify if the installation is correct run the following command:
python manage.py runserver
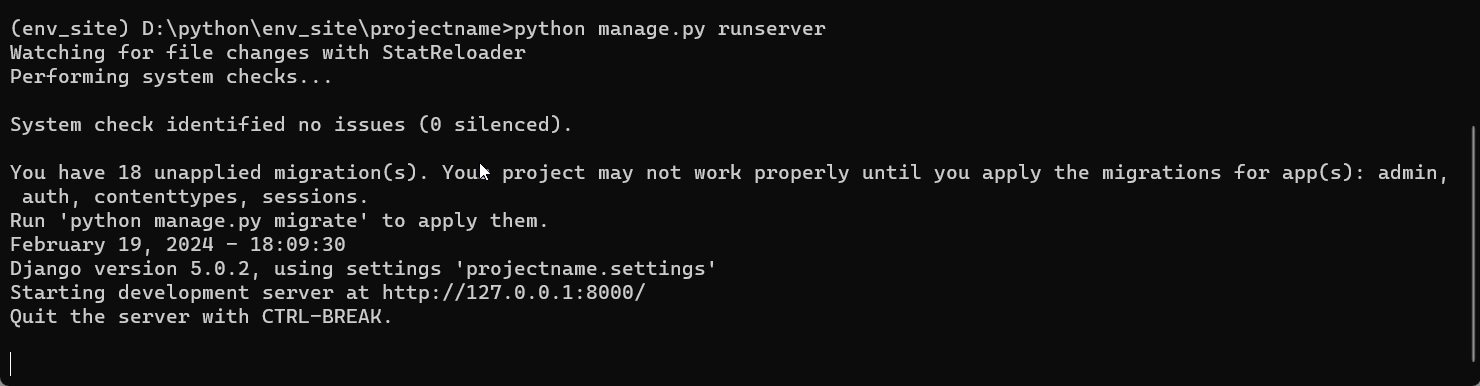
Now open your web browser and run the given URL:
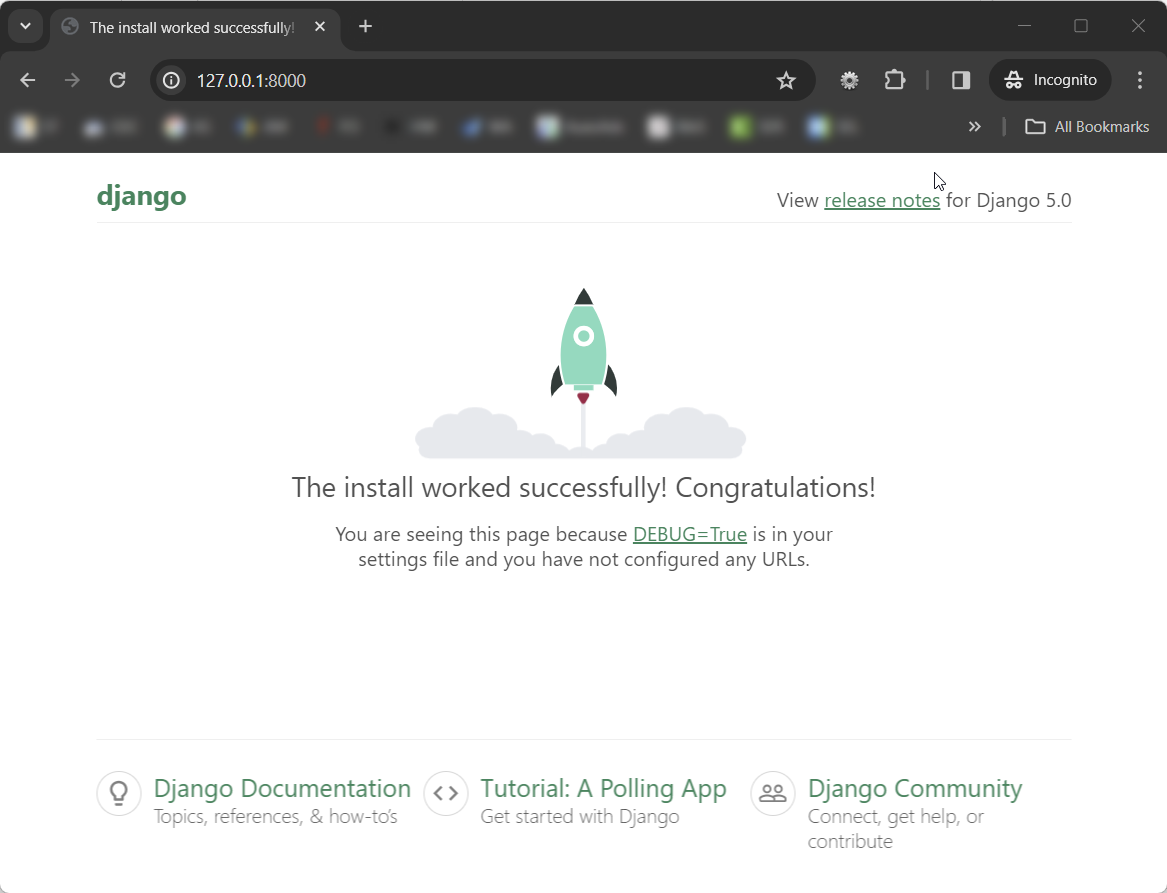
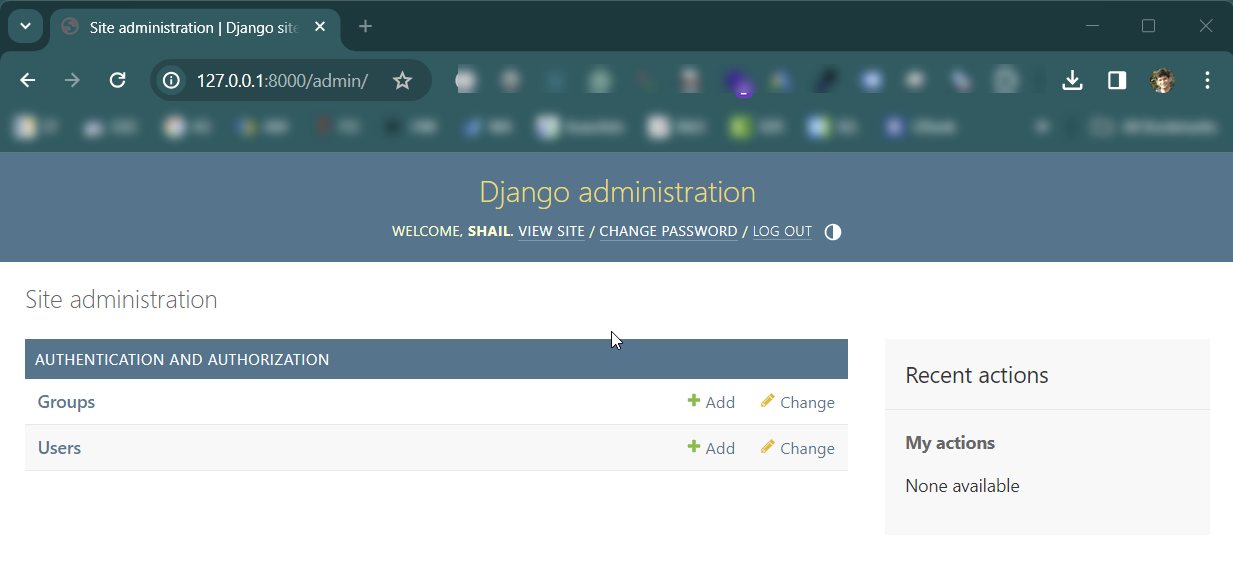
Step 7: Open Django Admin panel:
To open the Django Admin panel run the given URL
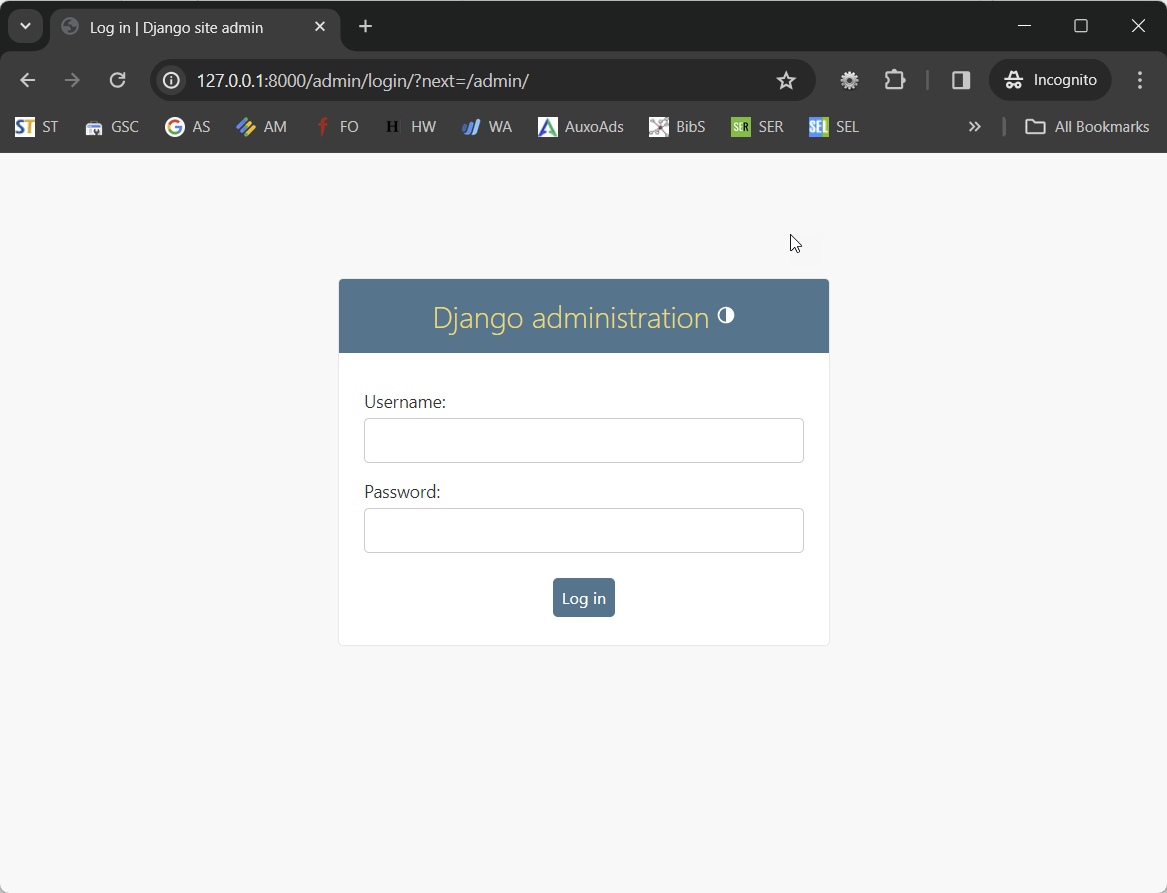
Step 8: Create a Superuser to access the Django admin panel:
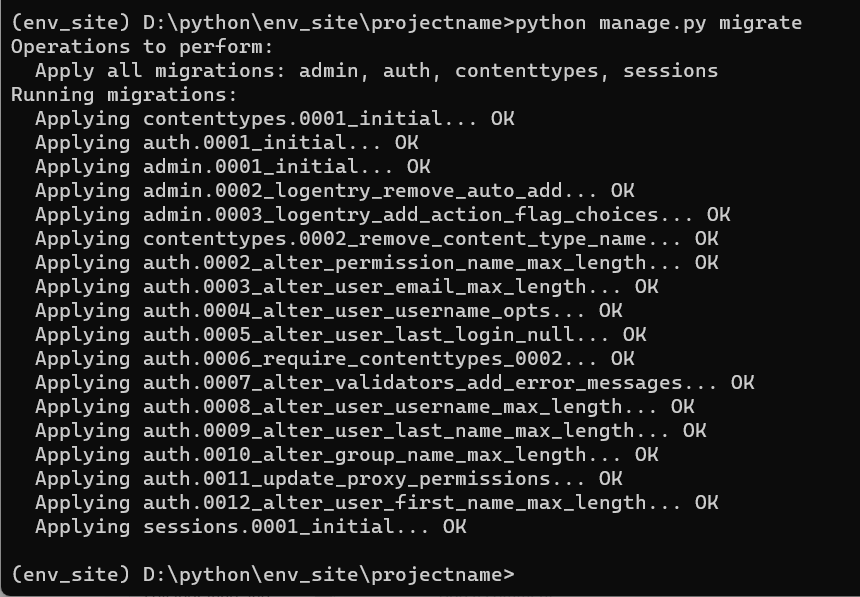
To create the Superuser first you need to run the migrate command to change the admin username and Password
python manage.py migrate
Step: 9: Create a Super User to access the Django admin panel.
python manage.py createsuperuser
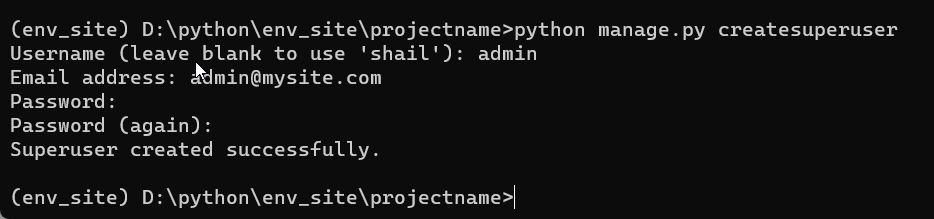
Now it will ask you to set a login and password for super admin. You can then login to the Django admin panel.
To log-in you need to again start the server
python manage.py runserver
Run the URL in the browser
Conclusion
Django unveils a world of efficiency, flexibility, and innovation in web development. Whether a developer is a seasoned developer seeking to improve their toolkit or a newcomer eager to embark on the web development journey, Django' is the best option for every Python developer.
This article has provided a comprehensive step-by-step installation process of the Python Django framework with its prerequisites.