This Photoshop Tutorial explains all the steps for how to add paint dripping effect to your text or object by using filter Liquefy and some Gradient, this tutorial will work with the all version of Adobe Photoshop 7, CC, CS.
Following steps are involved in creating paint dripping effect for text or object:
- Create New Screen with following settings
- Click on Text Tool from Tool Bar
- Convert Text to Object
- Apply Gradient Color
- Fill Gradient Color
- Give Paint Effect
Here are the steps explained in details with screenshots:
1.Create New Screen with following settings
Width: 800, Height 600
Resolution: 72
2. Click on Text Tool from Tool Bar

Take any Font style and then type the text for which you want to make paint effect.
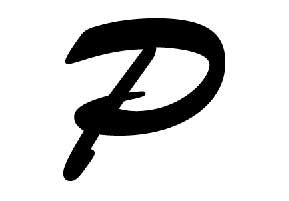
We are using a letter P
3.Convert Text to Object
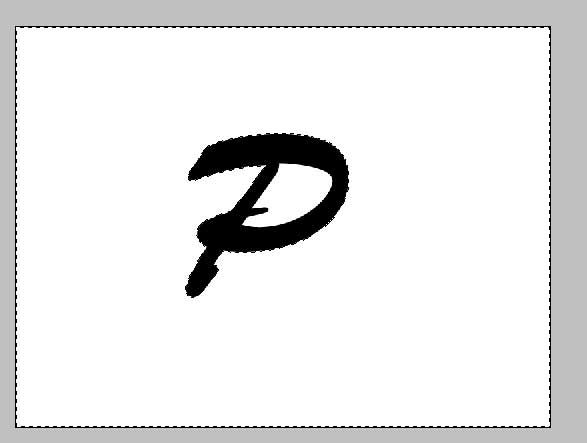
Select the Magic Wand Tool by pressing W from the keyboard and click on the outer area of the Screen and you will see that the outer area will get selected
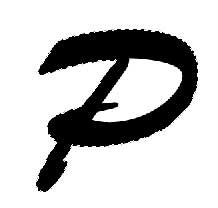
Now for creating the paint effect we need to select only Letter P and in order to do this Inverse the selection by pressing Ctrl+Shift+I, you will find that only P get selected
Now create a new layer by Pressing Ctrl+Shift+N
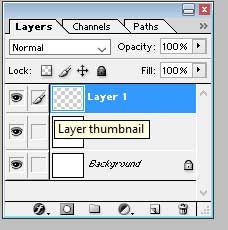
Now we will fill the selection with Color Gradient to give a paint effect.
4. Apply Gradient Color
Press G from the keyboard and select the Gradient from the Tool Bar as shown in the figure.
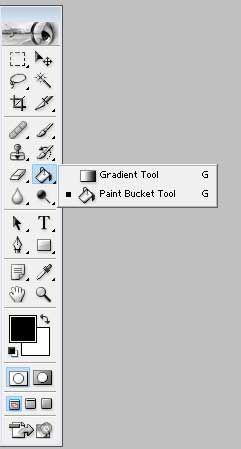
By default, it will select Black to White Gradient so if you can change it to some nice gradient color by clicking the gradient icon as shown below
.jpg)
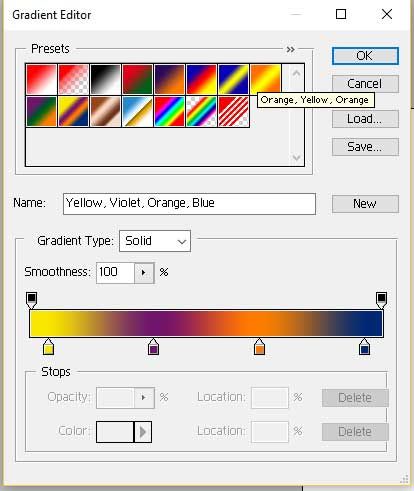
5. Fill Gradient Color
Now click on the selected are of the new Layer and Apply the Gradient Color to the screen
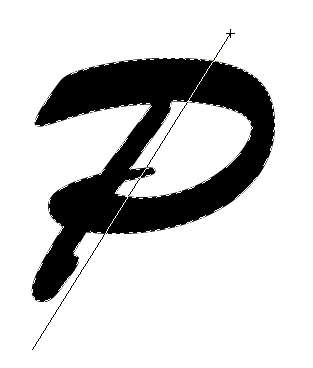
Now you will see that your chosen Gradient color is applied to the Letter P

6. Give Paint Effect
To give paint effect to the letter P we need to use Liquefy Filter
Filter >> Liquefy
Liquefy window will get open
Click on the Liquefy icon on left corner
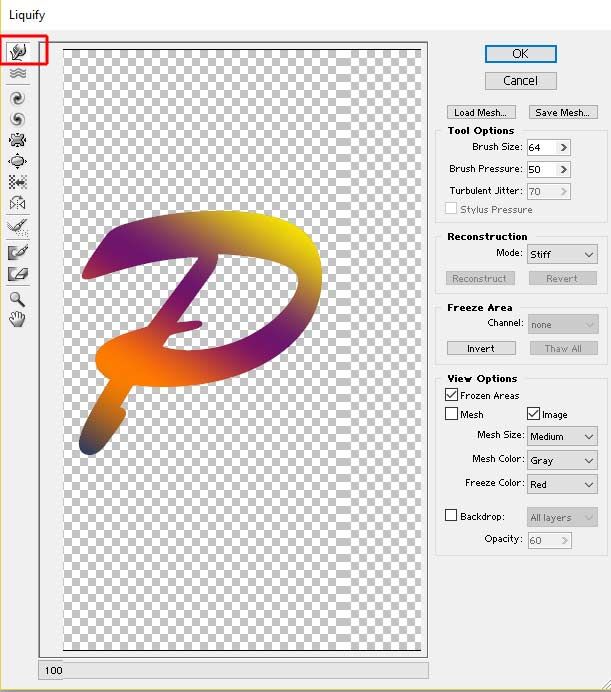
Now by Changing the Brush size and Brush Pressure you can create a nice liquid effect with some paint drop effect.
