How to Setup Scala Environment?
1.Scala works on JVM and eclipse supports JVM so we can run Scala on eclipse.
2.Go to the official website of Scala, you will find that 'The most popular way to get Scala is either using Scala through sbt, the Scala build tool, or to use Scala through an IDE' which is an advantage of Scala.

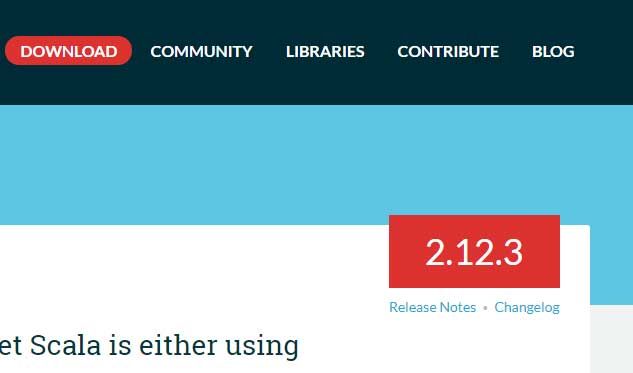
3.The latest version of Scala is 2.12.3. The features of Scala are also given below in the image.
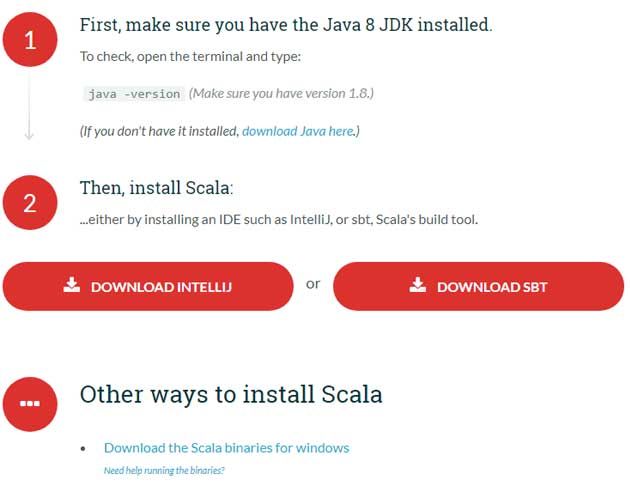
4.Click on the download icon.

5.You will get three options.
- The first option is to check whether Java is installed in your system or not and if not then a link to download Java first.
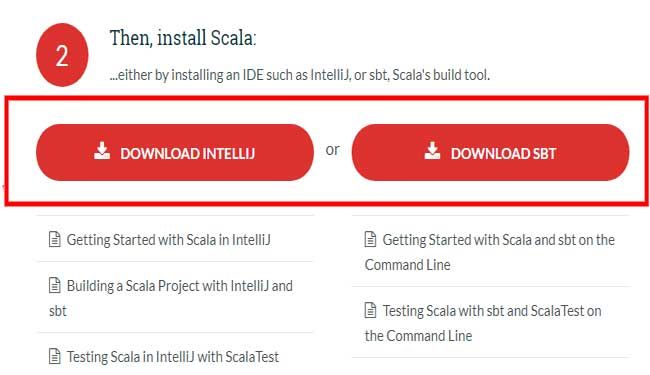
- The second option installing Scala on IDE like Eclipse, IntelliJ or sbt, Scala’s build tool.
- The last or the third option is Other ways to install Scala such as Download Scala binaries for windows etc.
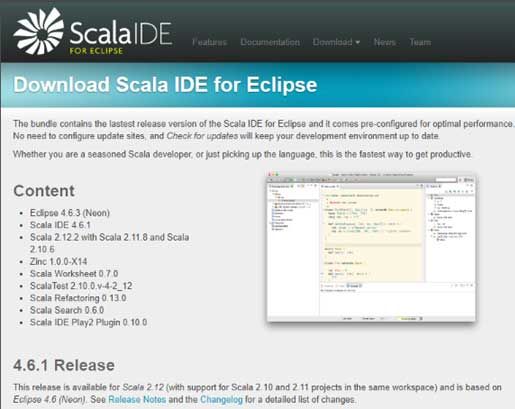
Scala For Eclipse
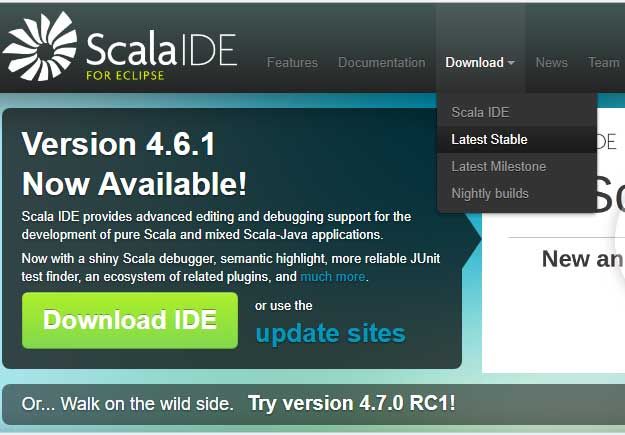
6.Next click on Install Scala IDE to install Eclipse. You will get an option to install Eclipse on the machine.
Note: You might not get option to install Eclipse as above, therefore, go to In this case go to (http://scala-ide.org/)
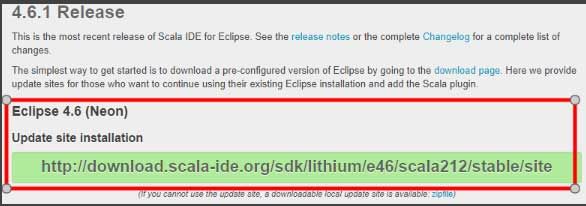
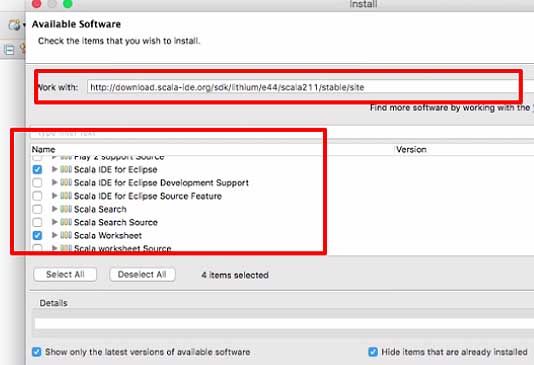
7.If you already have an older version of Eclipse without Scala, then go to Download > Latest table. Select the update link. Then go back to Eclipse, go to help > Install new software.
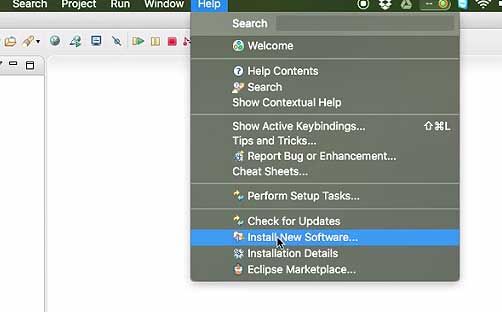
8. Next paste the link in the address bar and select the files you need to install.
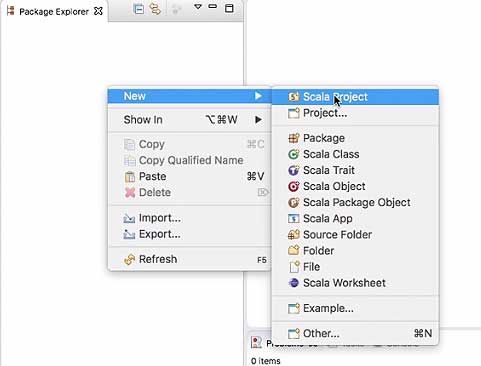
9.Once Scala is installed, you will find the scala option in the perspective tab in Eclipse.

10.Now on clicking 'New' you get an option of Scala project.
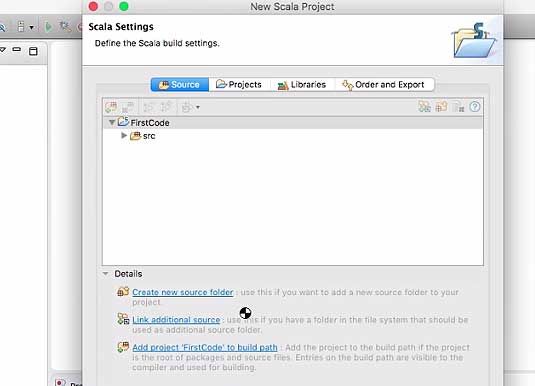
11.Next, give a name – ‘first code’. Select runtime environment as javaSE. Click on Next and then Finish.
.jpg)
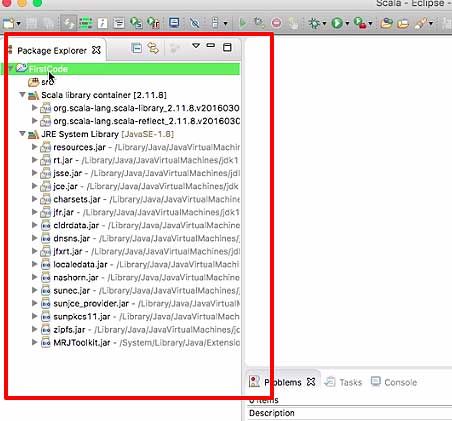
12.Now you will see a new Scala project having been created. Under this you will find the Scala and Java libraries.