How To Apply Support Packages
From time to time SAP sends correction patches or Support Packages. These come in CAR formats in CDs or can be downloaded from the SAP Service Marketplace using the URL service.sap.com/patches.
The steps followed to apply a Support Package are:
1) Copy all the packages under the directory /usr/sap/trans of the server
2) Uncar each package one by one as is being applied using the command
- # su - adm
- # cd /usr/sap/trans
- # SAPCAR -xvf
3) Log onto client 000 with a user apart from SAP* and DDIC
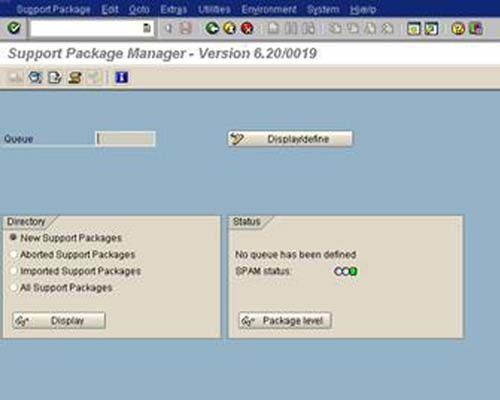
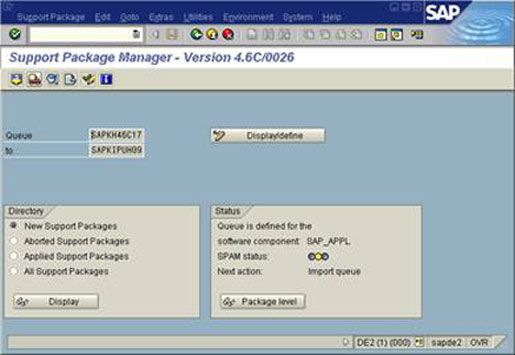
4) Execute transaction 'SPAM' - > Support Package -> Load Packages - > From Application server. Upload each package one by one.

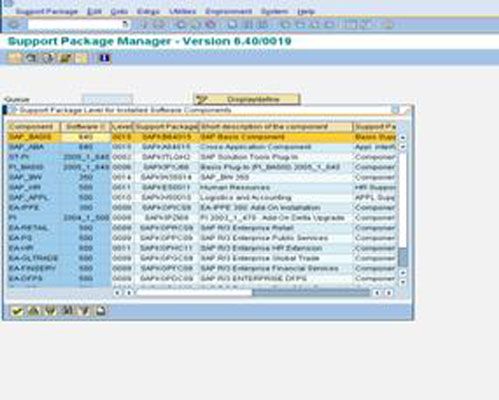
5) Click on 'Display/define' button. Select the appropriate package as displayed in the queue.


• Support Package - > Import Queue.
• Support Package -> Confirm after it says "Support Package
• applied successfully "
The support package application on the SAP server must only be done when no user is logged into the system.
It is of utmost importance to first read the SAP Notes related to the Queue formation and known problems. This helps in avoiding know problems during support package application.
Note: The SPs on CRM are applied in a slightly different way. The details of the process along with the screenshots will be updated in the manual after the next application of these on any CRM server.
SPAM is the t-code for applying support packs. First, you need to upgrade SPAM to latest version, download it from the marketplace. Use SPAM t-code and import it, then import the other CAR files.
Another thing needs to upgrade is Kernel, which is at OS level. You have to be very conscious while upgrading SP`s as there is no roll back. SO before upgrading stop all the instances and take the backup of usr directory.
You can download the pdf for upgrading patches from the marketplace.