This tutorial explains how to download, Install and make your first project on Visual Studio Community version.
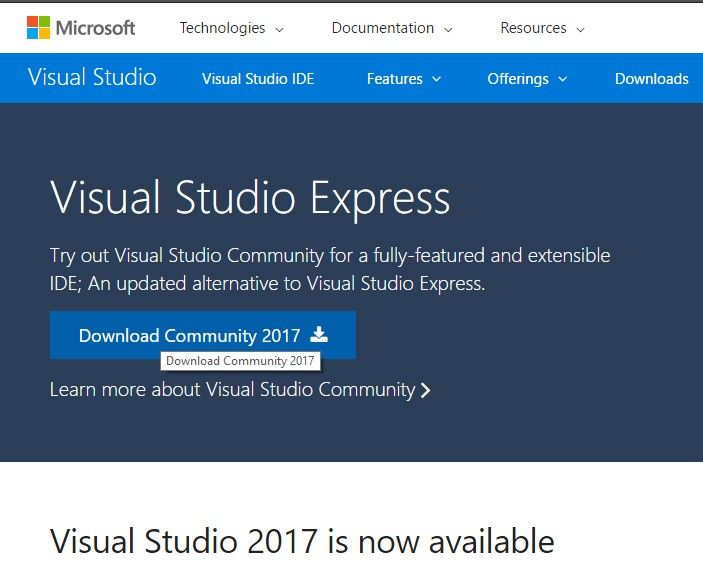
First, go to your Google chrome or any search engine & just enter Visual Studio Community. Visual studio itself is a very expensive IDE but it has a Community edition you can download and you can use it for free.

So just go to your visual studio community edition and according to the latest version, you can download visual studio community & no need to go for visual community for windows.
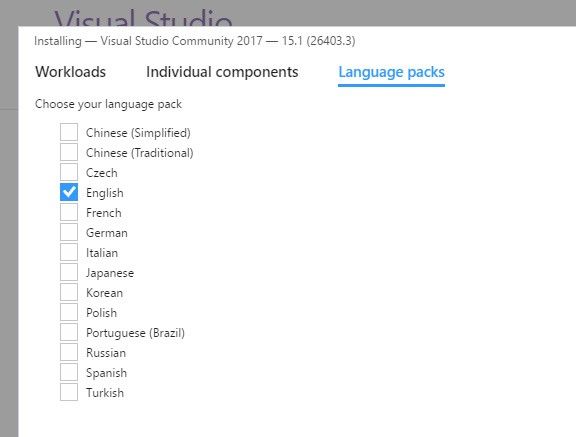
Choose your language and then you can install it after download. It’s a pretty easy & straight forward to download visual studio community & install it in your computer.
When you’re done with your downloading and installation, just go to start button & click this visual studio from there, and it’ll open a Visual studio environment.
Now we’re going to start a new project therefore
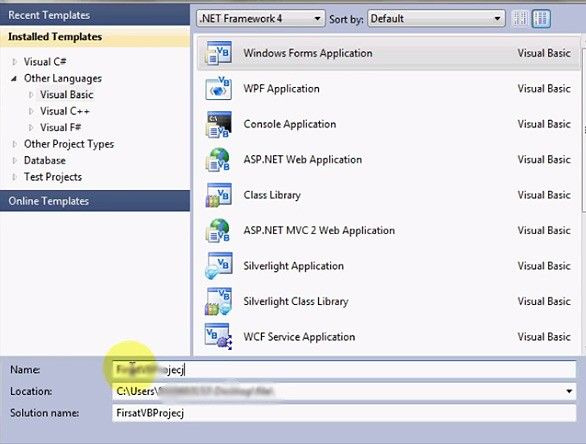
First, go to file-> Select new project and in here we’re going to make Windows form application. But 1st we need to choose the language. Go to other languages & choose visual studio from here & we’ll make windows form application using visual studio and visual basic.
Now enter the name of our projects, for example Visual Launch Studio and click Ok.
And the click Create a new project for us. In here you can see solution explorer to see your project & solution. You’ve this form and you’ve this toolbox which I’ll show you in a moment.
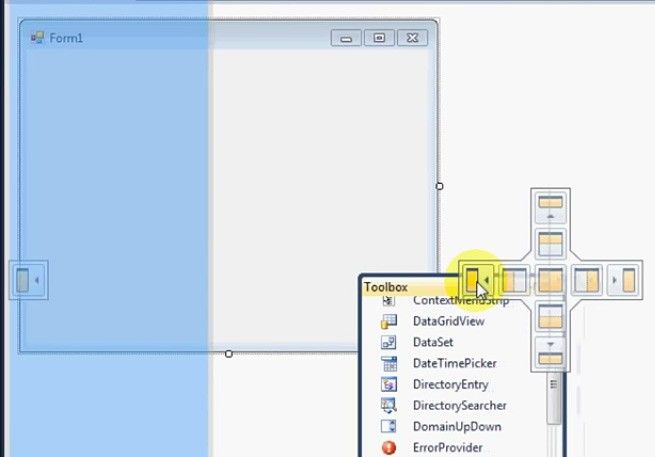
So this is the project where it creates our file & it’ll create your file in solution explorer, & I created a form1.vb & it has toolbox & from toolbox you can choose tools like button, text boxes & other tools. You can drag & drop into the form & then you can provide the code for the action that the tool will perform.
If you can’t see or if you aren’t able to see solution explorer then go to view 7 search for solution explorer or toolbox and then you can pin it into your visual studio environment. For example, if you don’t have toolbox or can’t see toolbox in your environment then go to view & click tool box, from here you can drop this at the bottom also you can drop it to the top, right or left like this by just drag and drop it wherever you want.
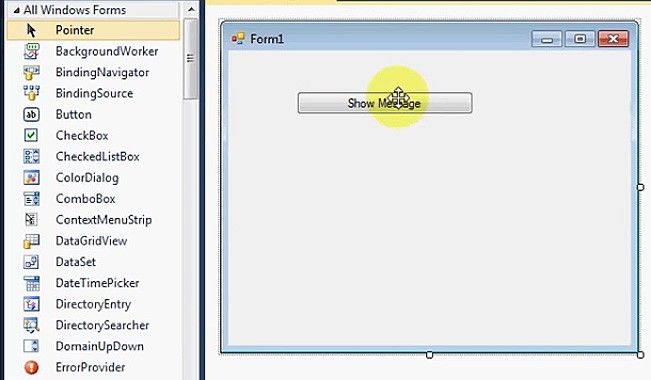
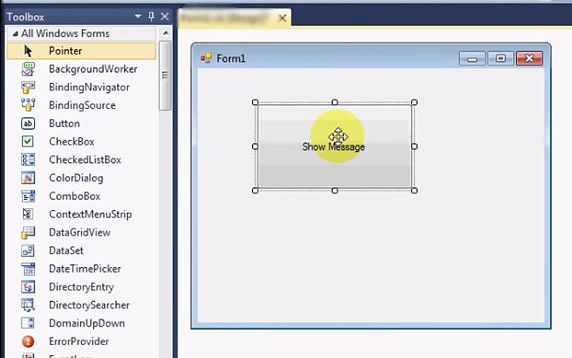
So let’s make a button or drag & drop a button & we’re going to show a message using this button. Change the text of this button such as ‘show message’ and then just select the button & double click it, to make the button click action-perform method.
In this I’m going to show a message that whenever I click a button it’ll show a message. So just write message in the box and in the bracket write your message which you want to display.
So I’m going to write a message, ‘This is my VB code’.
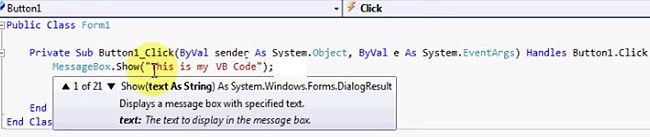
Whatever the message you want to show just write in the bracket between & you don’t need to give any semicolon.
Now just run your program & it’ll start debugging your program and when you click the show message button It’ll show or display your message whatever you’ve written in the brackets.
.jpg)