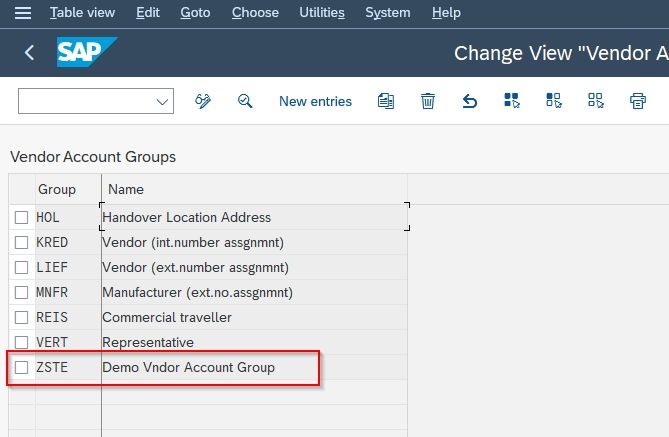
In this tutorial, you will learn step by step process to create a new Vendor Account Group in SAP but before that, you need to understand what is vendor account group in SAP.
What is SAP Vendor Account Group?
SAP Vendor account groups enable SAP users to have different field statuses for the different vendors as per their business requirements. Creating a vendor account group is the first step in the configuration of vendor master data.
How to Create a Vendor Account Group?
Please follow the steps below to create a vendor account group:
Step 1) Execute t-code OBD3 in the SAP Command Field
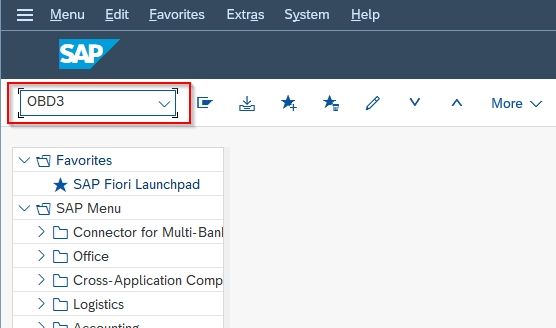
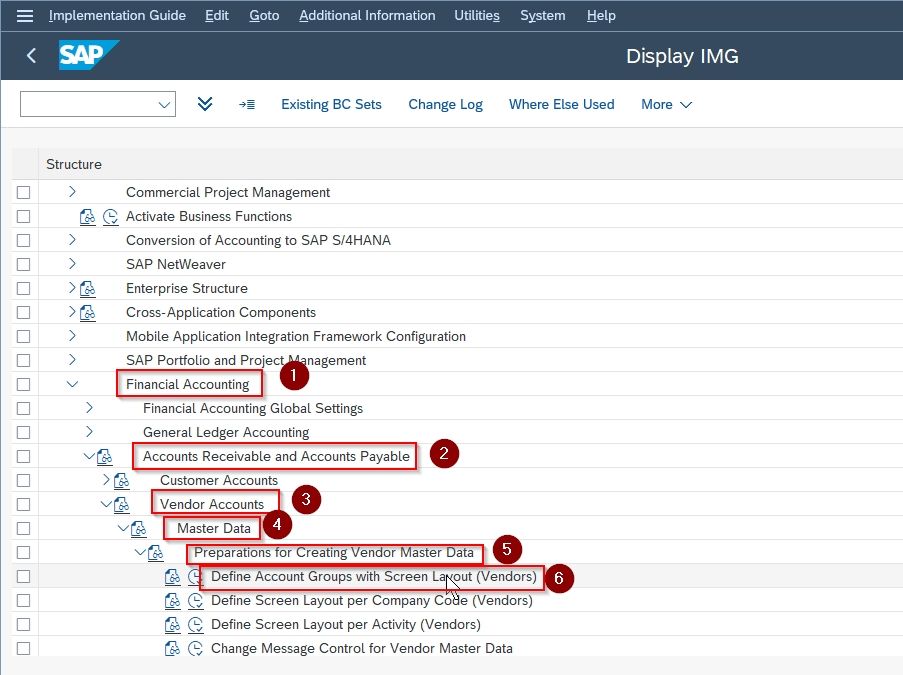
Or follow the following SAP menu path:
Financial Accounting ->Accounts Receivable and Accounts Payable ->Vendor Accounts -> Master Data ->Preparations for Creating Vendor Master Data->Define Account Groups with Screen Layout(Vendors)
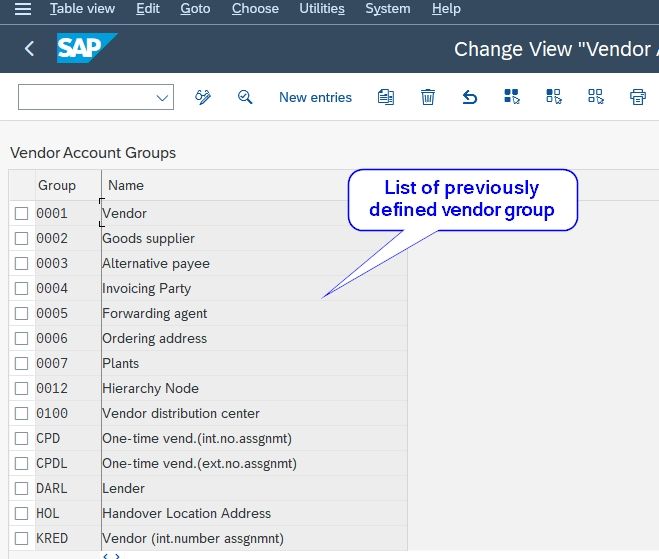
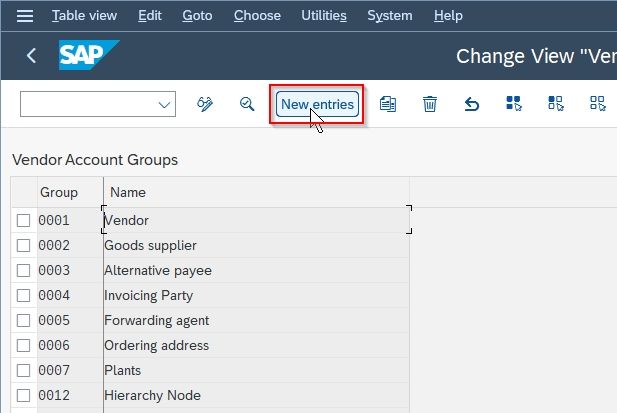
On the next screen, you will see the list of all previously defined Vendor Account Groups present on your SAP system
Step 2) Click the New Entries button present on the Application Menu bar
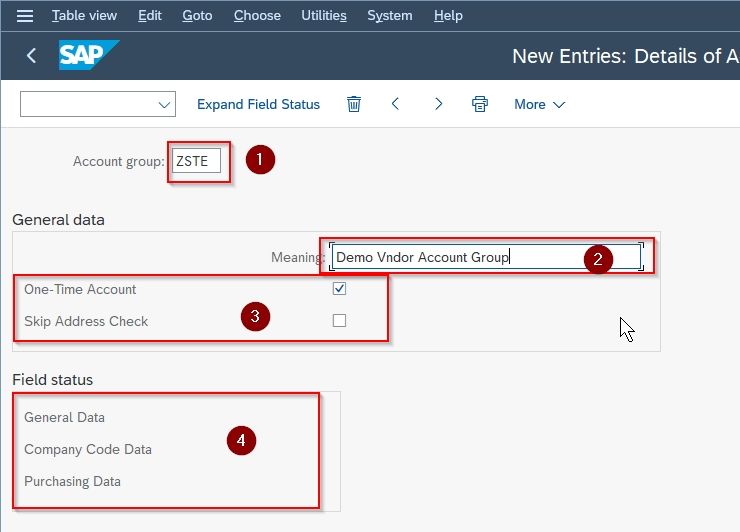
Step 3) Now provide the following data
- Enter a unique identity key in Account Group column
- Add a short name for the Account Group in the Meaning column
- Check the Account Group for OneTime Vendors box
- Choose the Master Data for which you want to maintain the Field Status
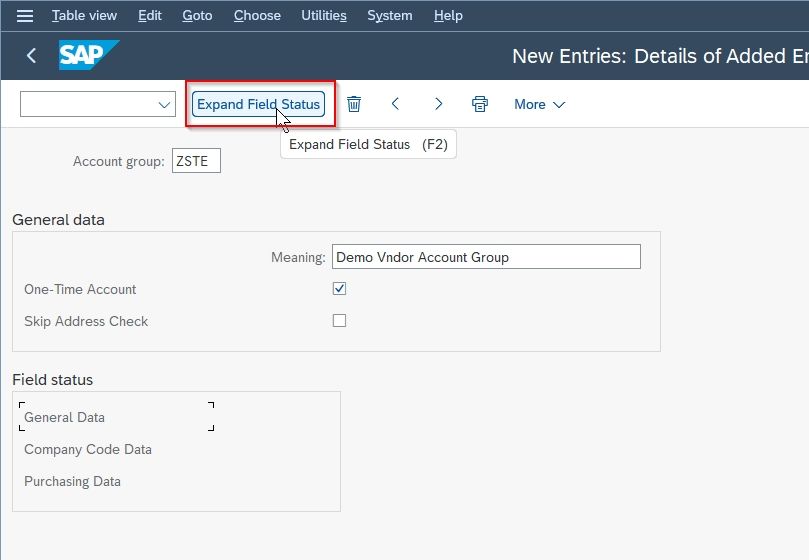
Step 4) Next click the Expand Field Status button to maintain the field status.
Step 5) Next select the Group of fields for which you want to Maintain Field Status
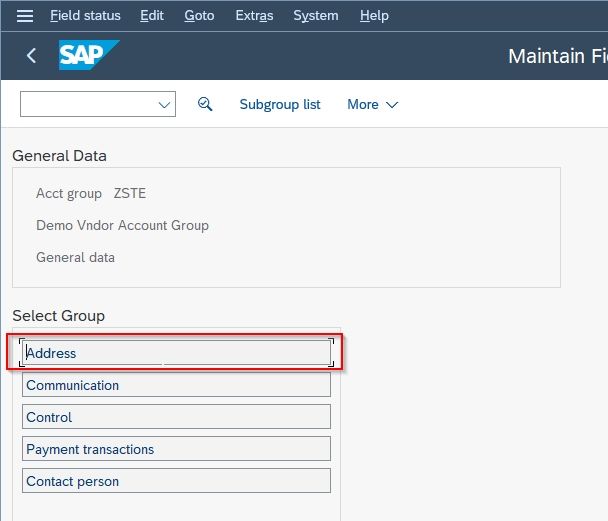
Step 6) On the next screen, maintain the Field Status of the selected group
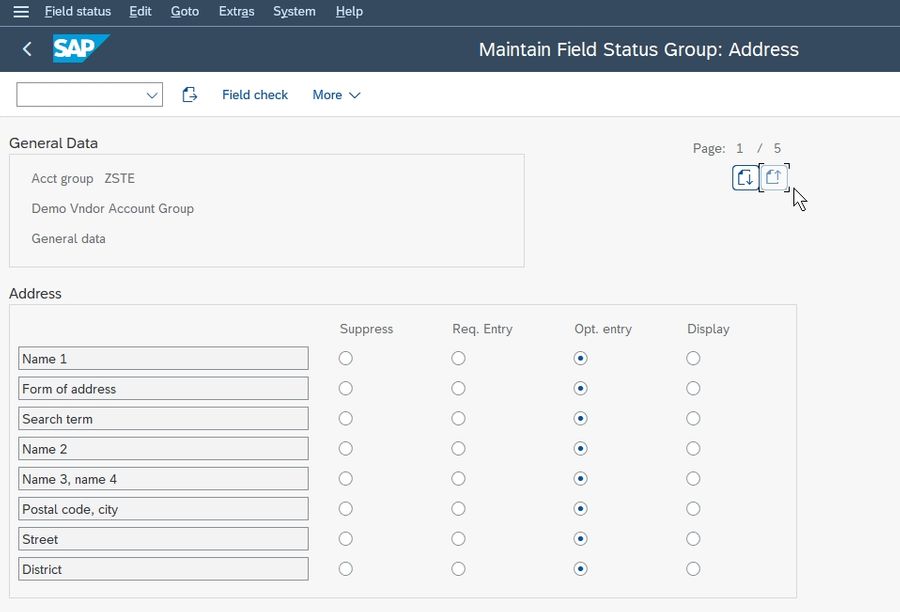
Step 7) Once you have maintained the Field Status, click the 'Save' button.

Step 8) Next select your Customizing Request id and press Enter to proceed
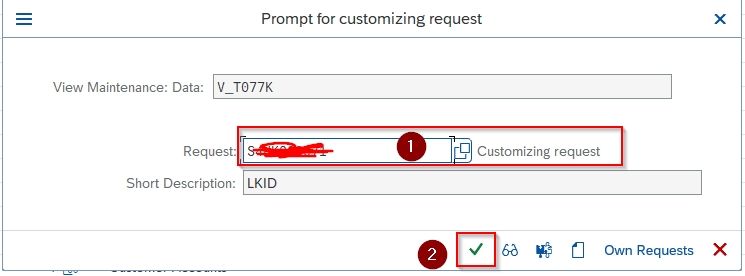
All the data for the new Vendor Account Group have been saved
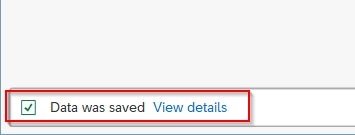
A new Vendor account group ZSTE has been created.
