In this SAP FICO tutorial, we have explained to the User the step-by-step process for how to define SAP Electronic Bank Statement with proper screenshots.
The Global settings for Electronic Bank statements are as follows:
- Account symbol creation: Account symbols are detailed information for general ledger accounts.
- Assign Accounts to Account Symbols: GL accounts are mapped to account symbols in this step.
- Create Keys for Posting Rule: The description for the necessary posting rules is entered in this step. Every posting rule defined a business transaction.
- Define Posting Rules: In these steps specifications for each posting rule are created. The user must specify how can a certain business transaction is to be posted with which posting key, document type, and posting type.
How to Define EBS Configuration in SAP?
Please follow the steps below to define EBS configuration in SAP:
Enter t-code SPRO in the SAP command field and press Enter to execute the transaction code.
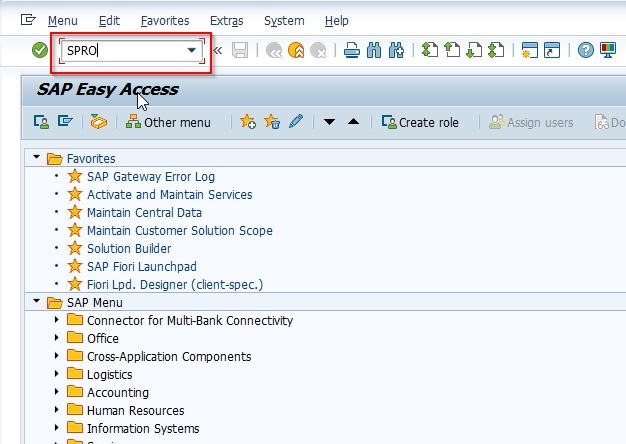
On the next screen click the SAP Reference IMG button to proceed to the next steps.
.jpg)
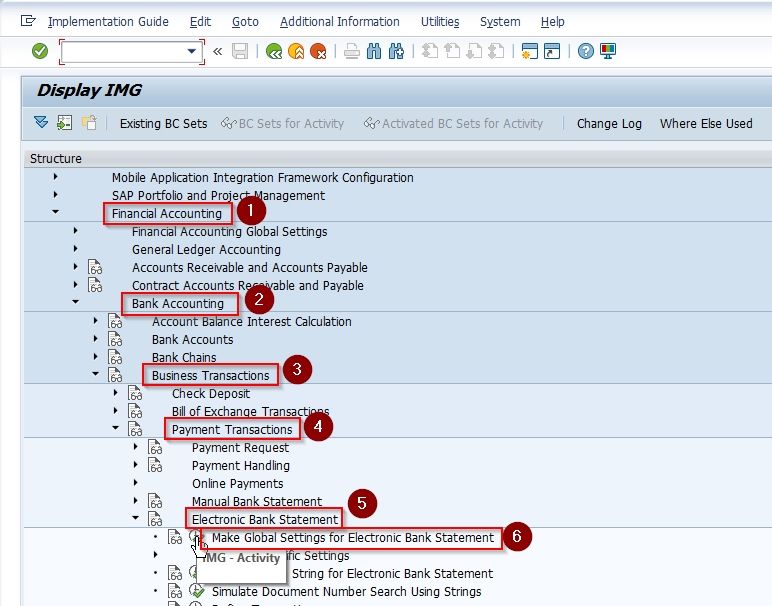
Next please navigate to the following IMG path:
Financial Accounting > Bank Accounting > Business Transactions > Payment Transactions > Electronic Bank Statement > Make Global Settings for Electronic Bank Statement
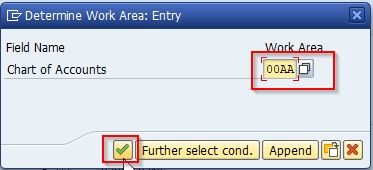
Now enter Chart of Account and press Enter to proceed further.
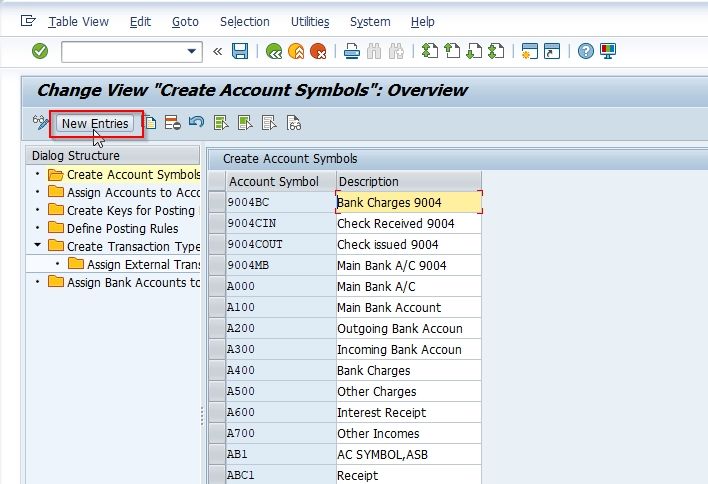
You will be navigated to Change View "Create Account Symbols": Overview screen
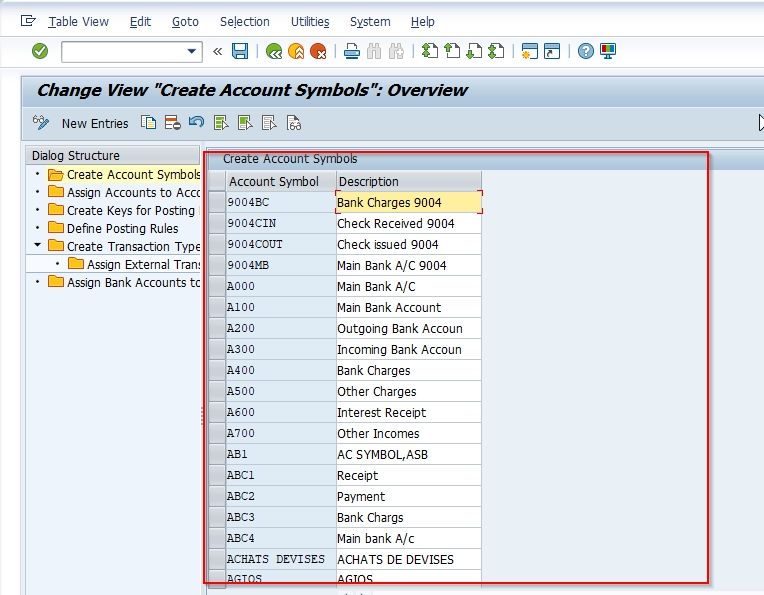
Step 1: Creation of Accounts Symbols
Click the New Entries button to create new account symbols
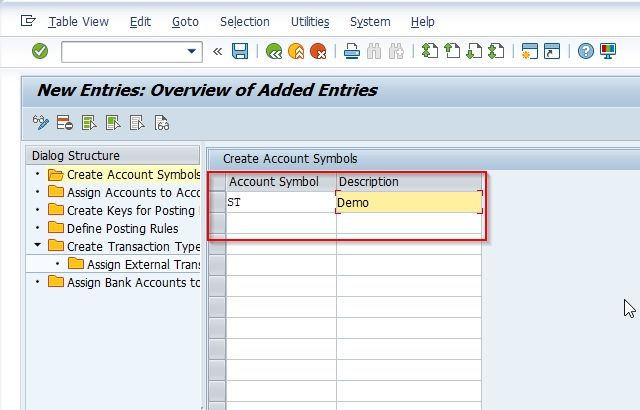
Now update the following details
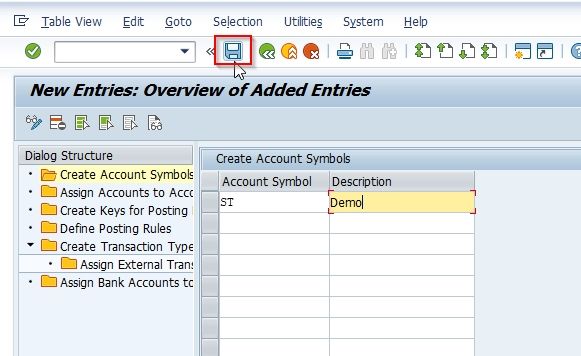
Click the Save button to save the new configuration
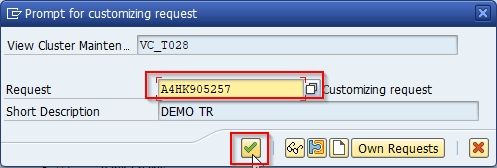
Now select your Customization Request id and press Enter to go to the next screen.
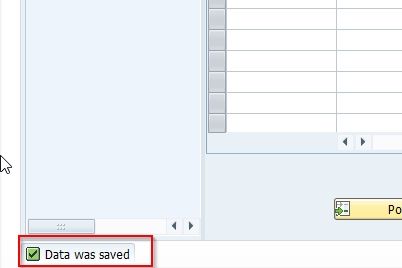
Next, the message Data was saved will be displayed at the bottom of your screen
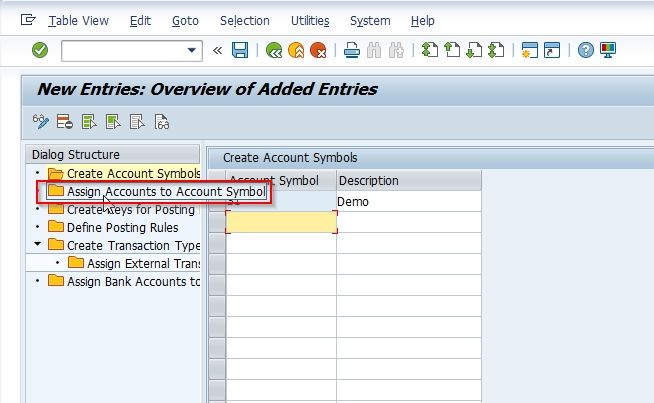
Step 2: Assign Accounts to Accounts Symbols
Now to assign accounts to accounts symbols double click on Assign Accounts to Accounts Symbols.
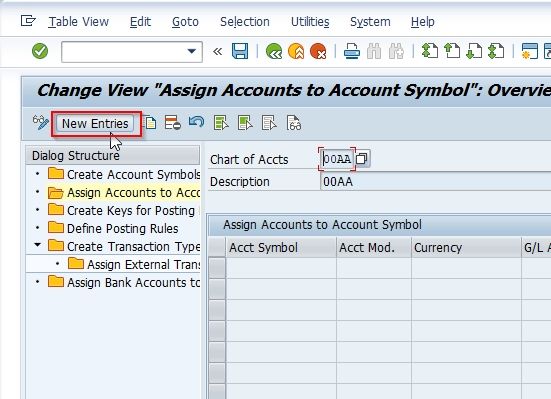
Now click on the New Entries button to assign an account.
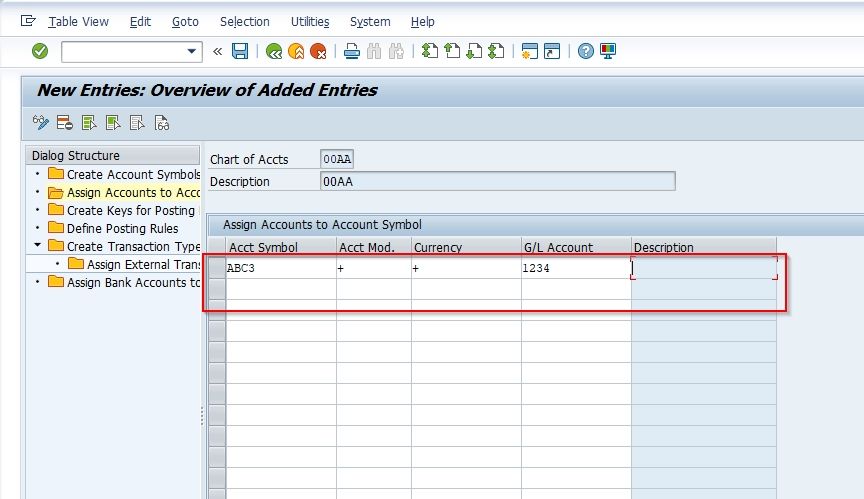
Next, assign accounts to the accounts symbols.
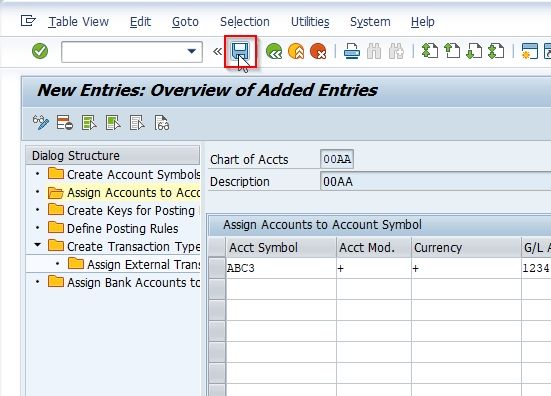
Now click on the Save button to save the new configuration.
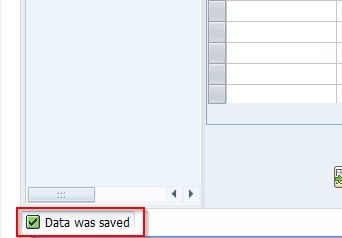
The message Data was saved will be displayed at the bottom of your screen
Step 3: Create Keys for Posting Rules
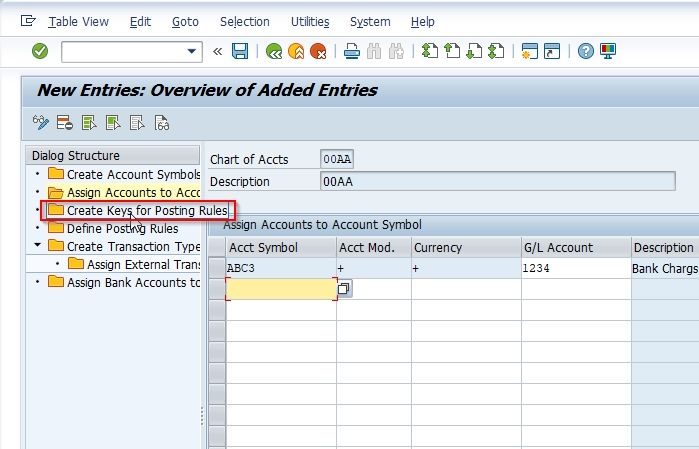
Now double click on Create Keys for Posting Rules button.
Click on the New Entries button to create a key posting rules
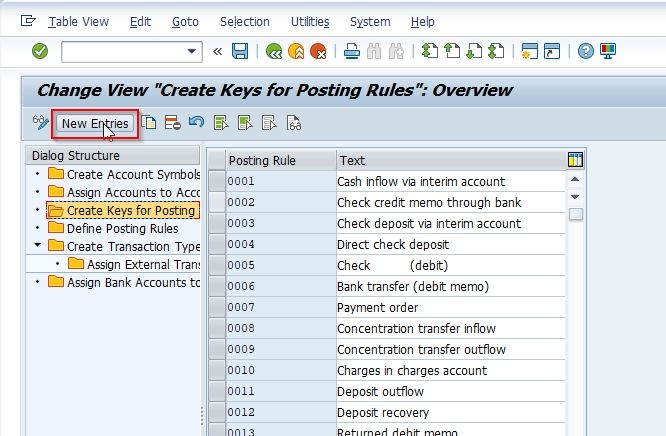
Now enter the Posting Rule and Text fields to define new posting rules.
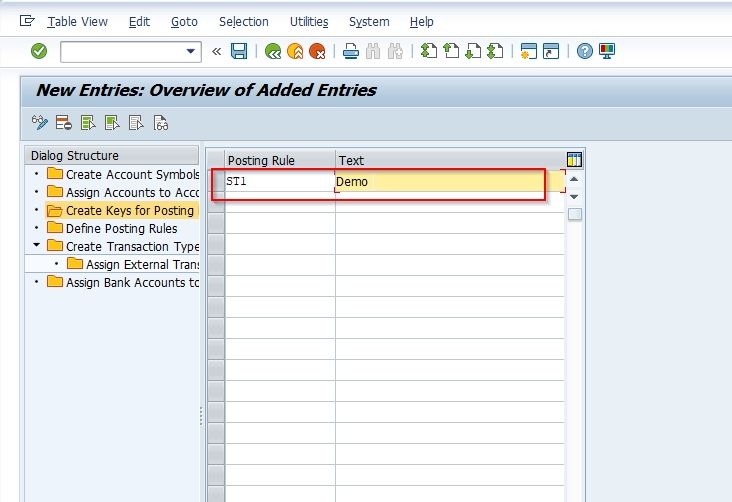
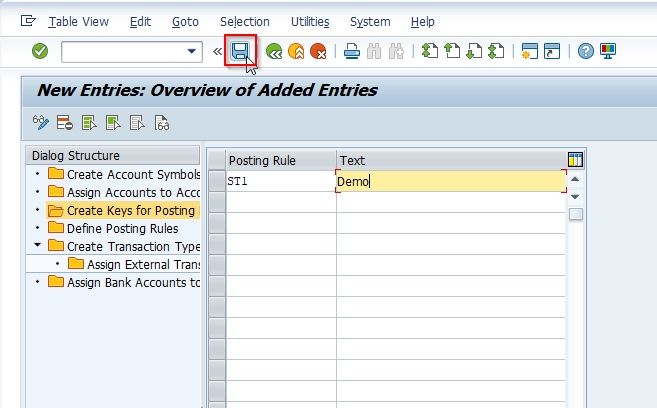
Next click on the Save button to save entries.
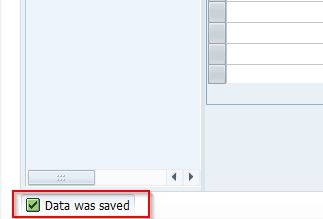
A message Data was saved will be displayed at the bottom of your screen implying the details have been saved.
Step 4: Define Posting Rules
Now in the last step, we will assign the posting rules to the account’s symbols.
Therefore click the Define Posting Rules button.
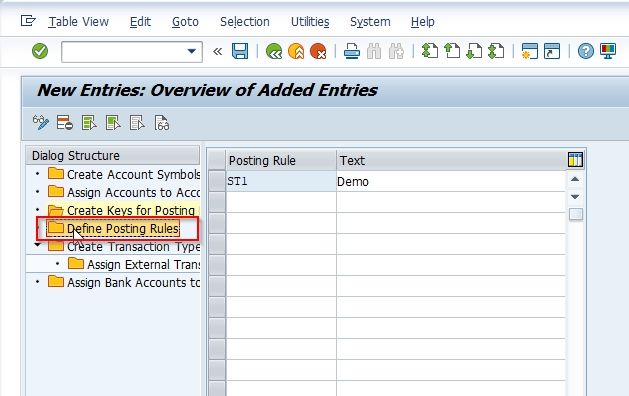
Now click on the New Entries button
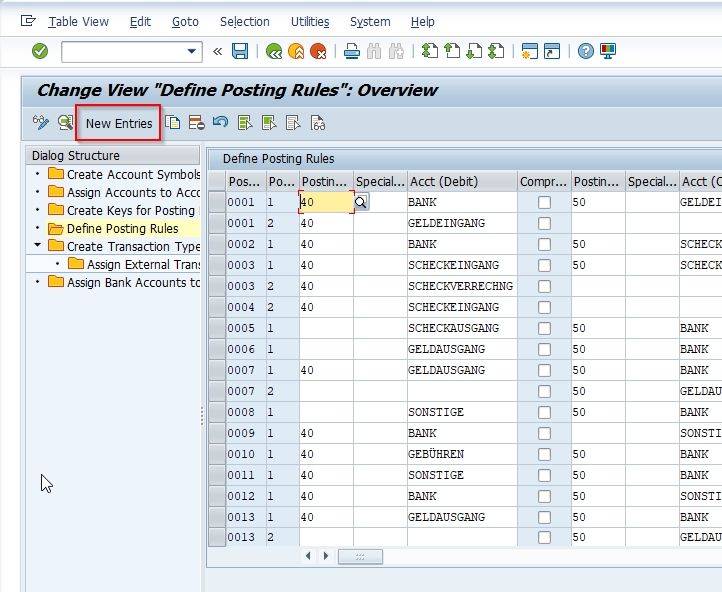
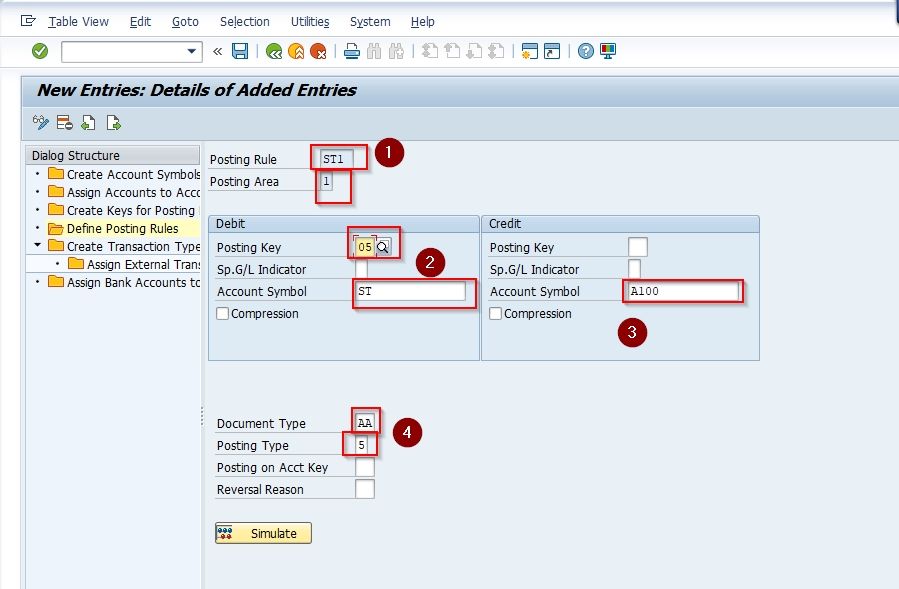
Next, specify the data for the following field:
- Posting Rule:Specify the Posting rule key created above.
- Posting Area: Choose the posting area value
- Accounts Symbols: Now update the account symbols in the debit and credit fields
- Enter the appropriate document type and posting type
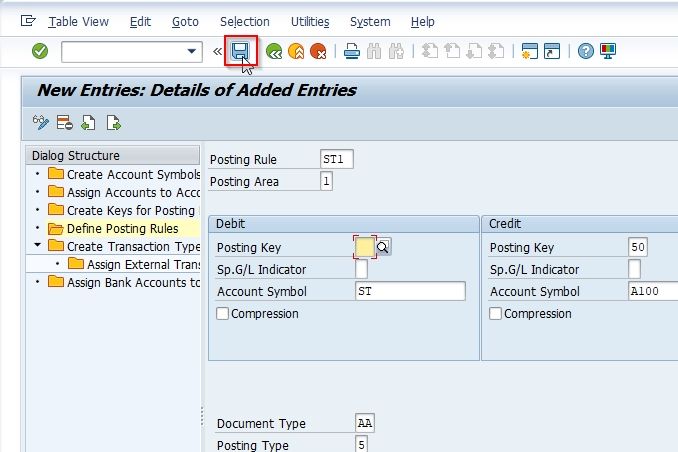
Next click on the Save button to save the newly entered data.
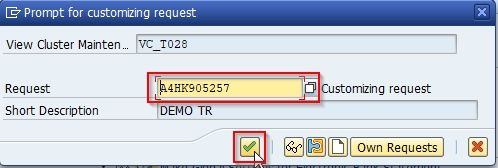
Now select your Customization Request id and press Enter to go to the next screen.
A message Data was saved will be displayed at the bottom of your screen.

We have successfully defined EBS Configuration in your SAP system.